

Did you just get a Ninja Creami? If so, you may be pretty excited to use it (you should be!), but you may also be a little overwhelmed. There's so much to know, and how do you know you're doing everything correctly?
I decided to write up this guide so you can know what's normal and also how to fix things like when your ice cream looks pebbly or when your frozen mixture has a hump before you process. I hope it's helpful!
Note: a lot of times below, I say "ice cream" for simplicity, but the tip applies to ice cream/sorbet/gelato/etc.

How to use your Ninja Creami
- Add your ingredients to the Ninja Creami container. (Some ingredients may need to be blended before adding).
- Freeze for at least 18-24 hours.
- Remove from the freezer, add ice cream container to the outer Creami container, and process on proper setting. Respin if needed.
- Add mix-ins if using.
- Most recipes will have you freeze for 18-24 hours. However, a lot depends on how cold your freezer is.
Key tips
- Don't fill above the "Max Fill" line.
- Buy extra containers to keep more in your freezer (but make sure you buy the right size for your specific Creami). Ninja Creami containers or Creami Deluxe containers
- NEVER process your ice cream if it has a hump. Scrape off the hump to level out the ice cream, or you may permanently damage your machine.
- Make sure you leave room behind the Ninja Creami for the fan to operate.
Ninja Creami or Ninja Creami Deluxe - sizing tips
You can make most ice creams whether you have the Ninja Creami or Ninja Creami Deluxe. The Ninja Creami holds 16oz to the max fill line and the Ninja Creami Deluxe holds 24oz.
If you have the Ninja Creami Deluxe and you want to make a regular Ninja Creami recipe you have two options - just make the 16oz of it as the recipe calls for. Or if you want to make a larger amount, simply multiply the recipe ingredients 1.5x for it to fit the 24oz amount instead of 16oz amount.
I've had both the Ninja Creami and Ninja Creami Deluxe, and even when I had the Deluxe, I typically only made 16oz of an ice cream instead of 24oz.
What to know about ingredients
One of the best things about the Ninja Creami is how versatile it is and how you can decide what ingredients are going into your ice cream, sorbet, or whatever treat you're making!
Many people find success with ice cream recipes that include some sort of stabilizer. Protein shakes, protein powder, instant pudding mix, cream cheese, guar gum, etc. are all common stabilizers people include in their mixes. You can also use cottage cheese, ricotta, or yogurt for creating a creamy texture.
Recipes will need some sort of sweetener. This can be sugar or a sugar substitute. Too little sugar will cause ice cream to be icy or hard. Taste the ice cream before freezing. (Note: ice cream will usually taste less sweet after freezing).
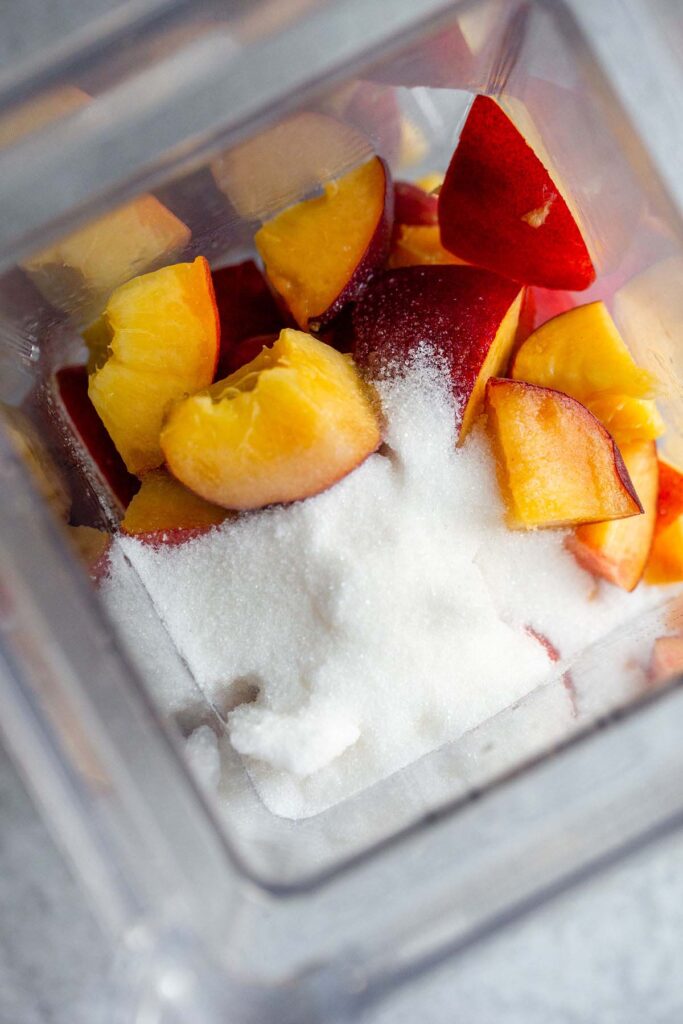
If using fruit, it is best to mash fruit or blend fruit before freezing (especially if using large chunks). Large, frozen pieces of fruit can damage the Ninja Creami blade.

If you're new to the Ninja Creami, try out some simple recipes to get the hang of your machine before branching out to making your own creations. The Ninja Creami book that comes with your machine is a great place to start, and here is my list of Ninja Creami recipes for beginners.
Freezing
When you freeze your Ninja Creami, you want it to be on a level surface in your freezer. You don't want it to freeze at an angle, otherwise that may damage the blade when you process your ice cream.
Before processing
Check for a hump - Before you process your ice cream, open the lid and see if it has a hump. If it is large and not just a tiny bump, you will want to scrape off the hump with a spoon to flatten it out. If your ice cream has a hump, it can damage the blade. (Protip: some people leave off the lid when freezing and say it helps the hump from forming). I've only had a hump form on my ice cream a few times out of all the Ninja Creami recipes I've made.
Thaw the outside - I usually run warm water along the outside edge of the container for 30 seconds. This helps the outer layer thaw and get incorporated better when you process the ice cream. (You can also leave it out for 10-15 minutes before processing to let it thaw slightly).
The processing settings
The most common settings are ice cream, lite ice cream, sorbet, frozen yogurt, respin, and mix-ins.
Ice cream - Used for recipes that are dairy and sugar.
Lite ice cream - Used if using a dairy alternative or artificial sweeter/low in sugar and lower in fat. If you're doing a "healthier" or high-protein recipe, you'll likely use the lite ice cream setting.
Sorbet - Used when making a dairy-free, fruit based recipe.
Frozen yogurt - Used when yogurt is the base of the recipe.
Respin - Used if the ice cream is pebbly, dry, or not soft enough. Sometimes a splash of liquid needs to be added with a respin. (Note: this is not for respinning leftover frozen ice cream. When your leftover ice cream has been frozen again, you reprocess on the appropriate ice cream/lite ice cream/sorbet/etc. setting).
Mix-in - Used when you're adding a mix-in after processing.
Why does my ice cream look...?
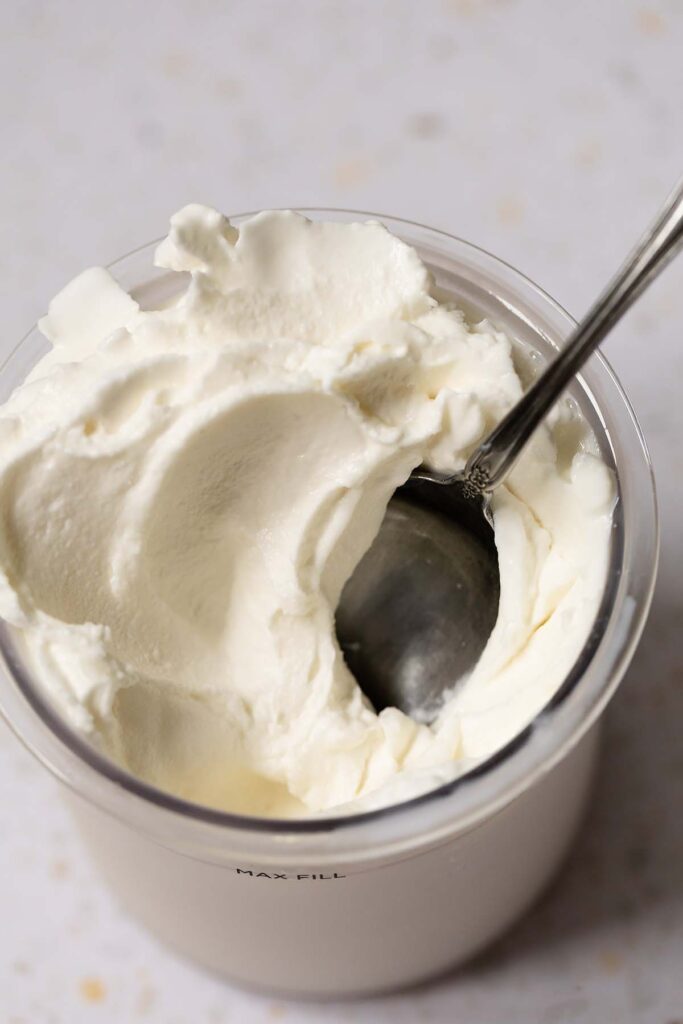
When you process your ice cream, sorbet, or whatever you're making, sometimes it comes out perfectly scoopable and perfect right after processing!
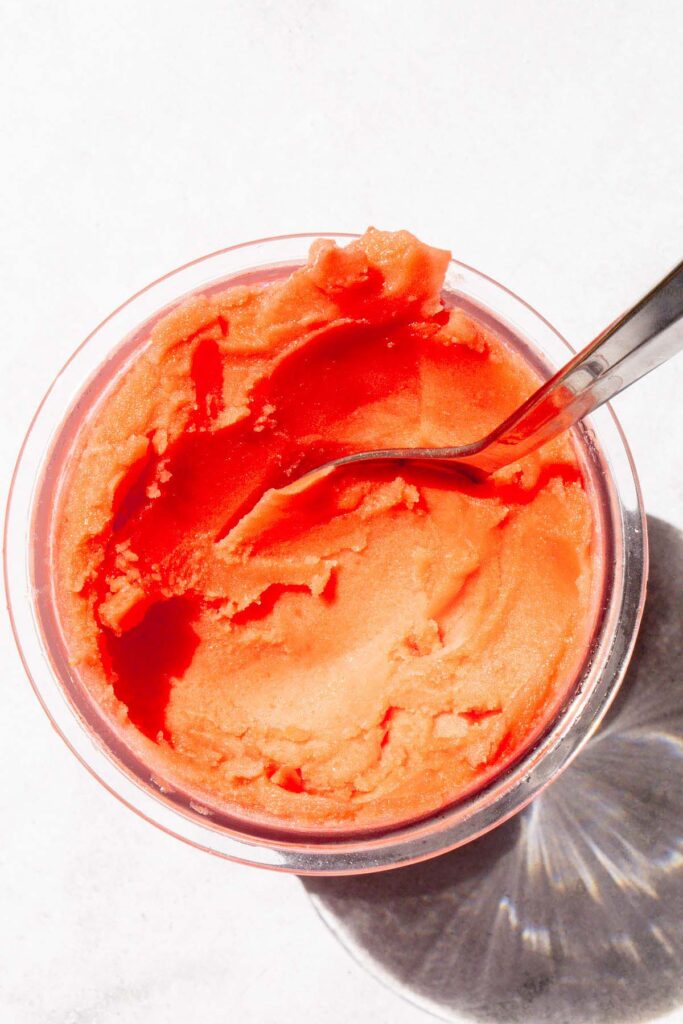
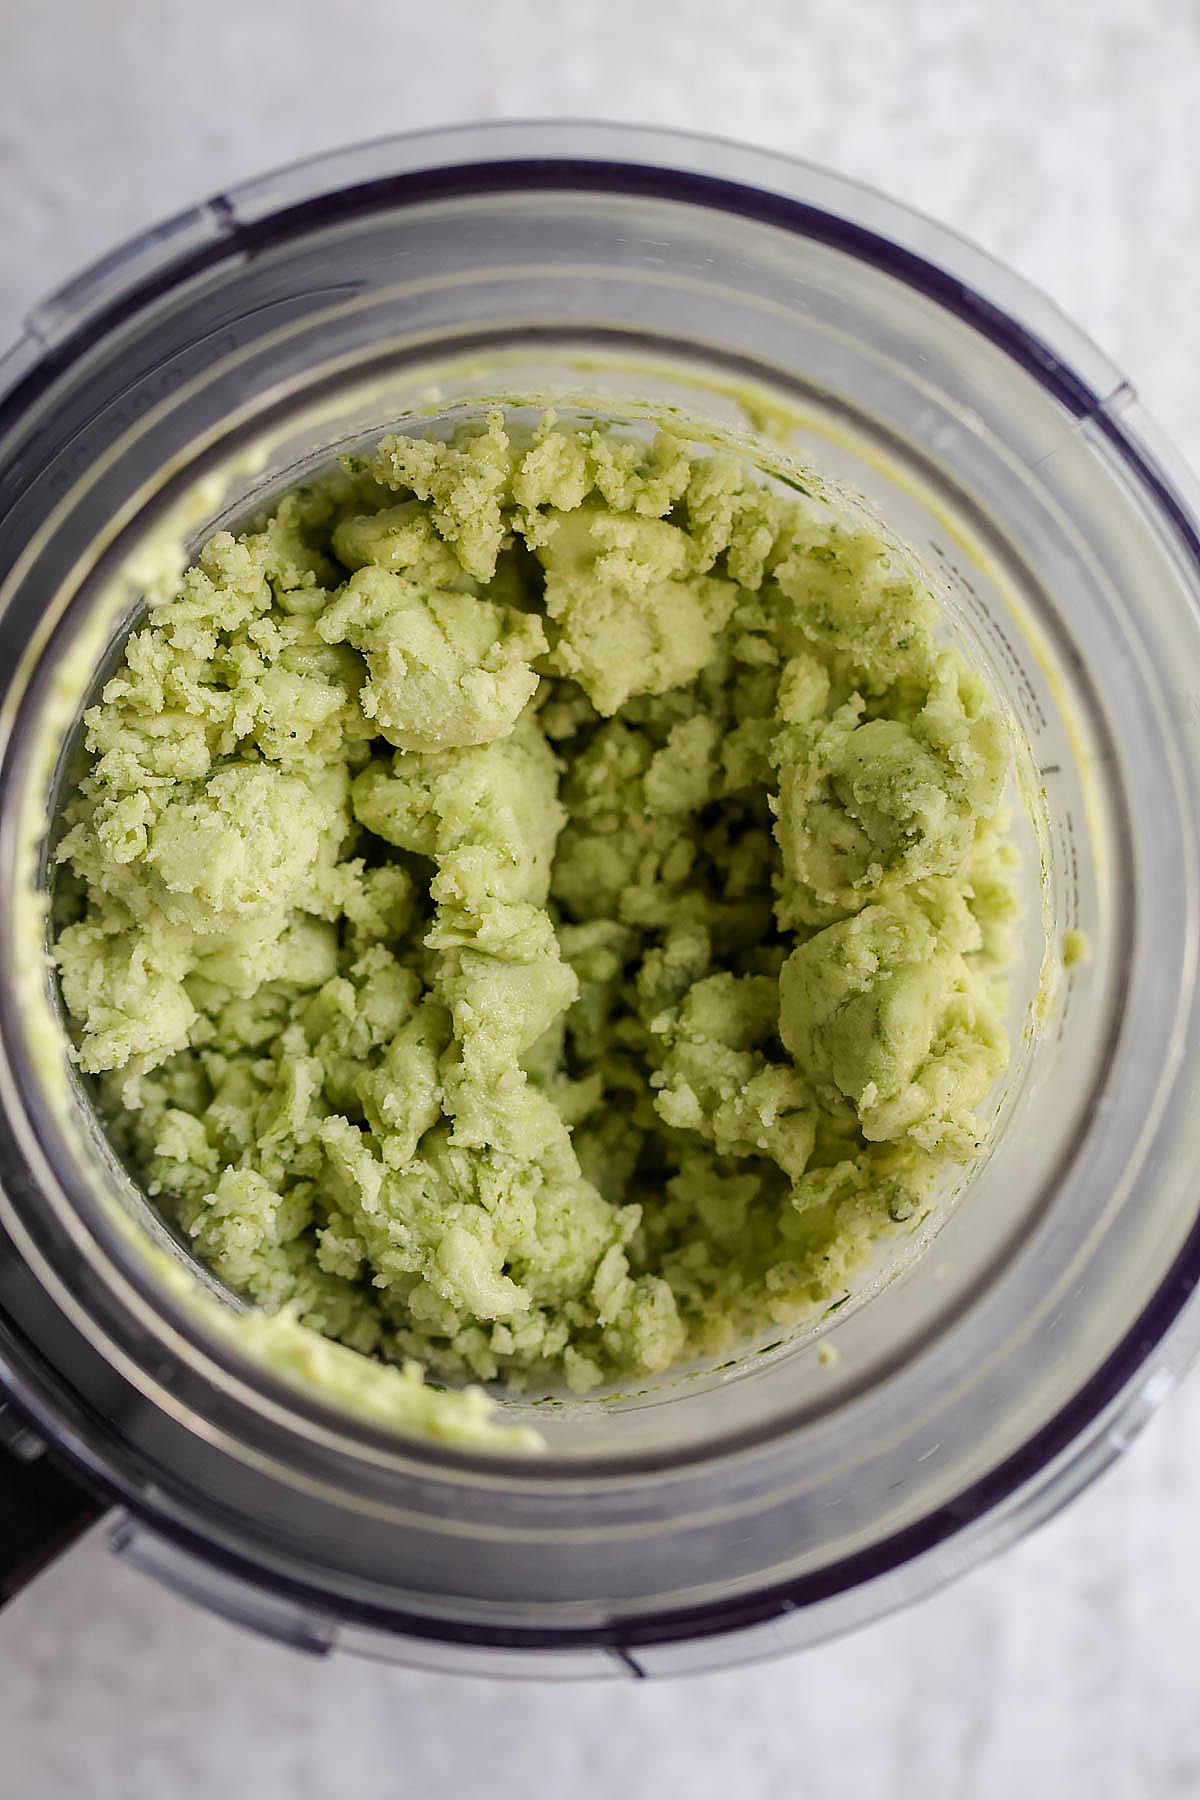
However, sometimes, it looks pebbly or like sand. Luckily, there is a fix for this.
If your ice cream looks more pebbly, like the photo below, it may just need a quick respin! (You can also add a tiny bit of liquid if you want too, but many times it doesn't need it).
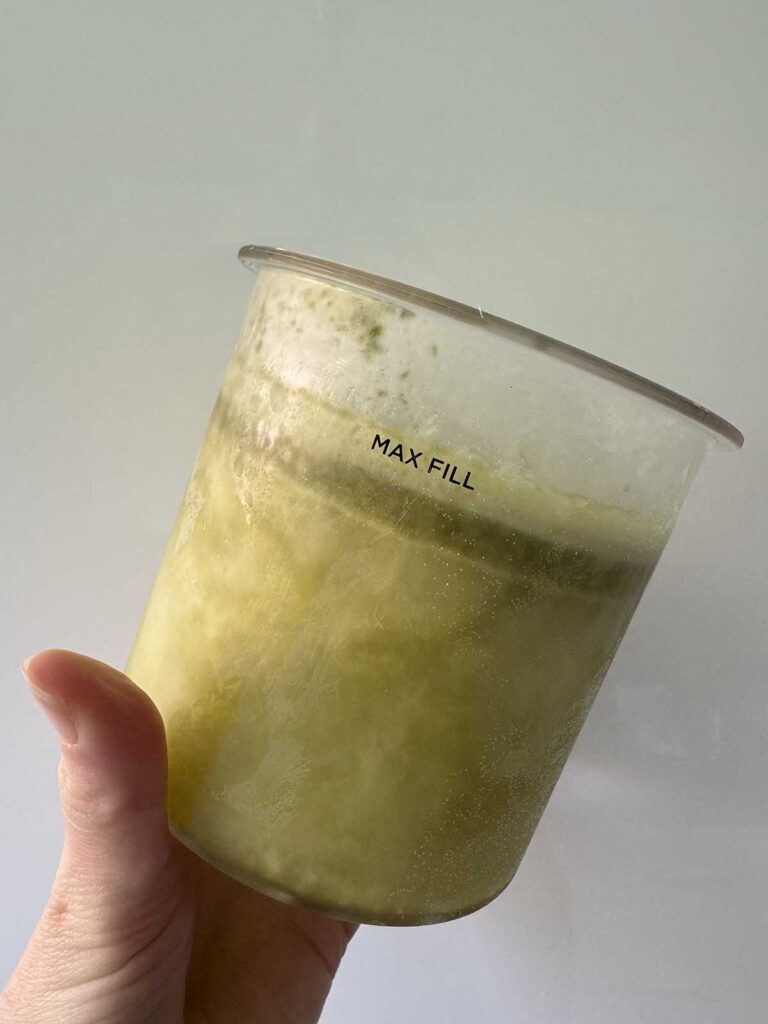
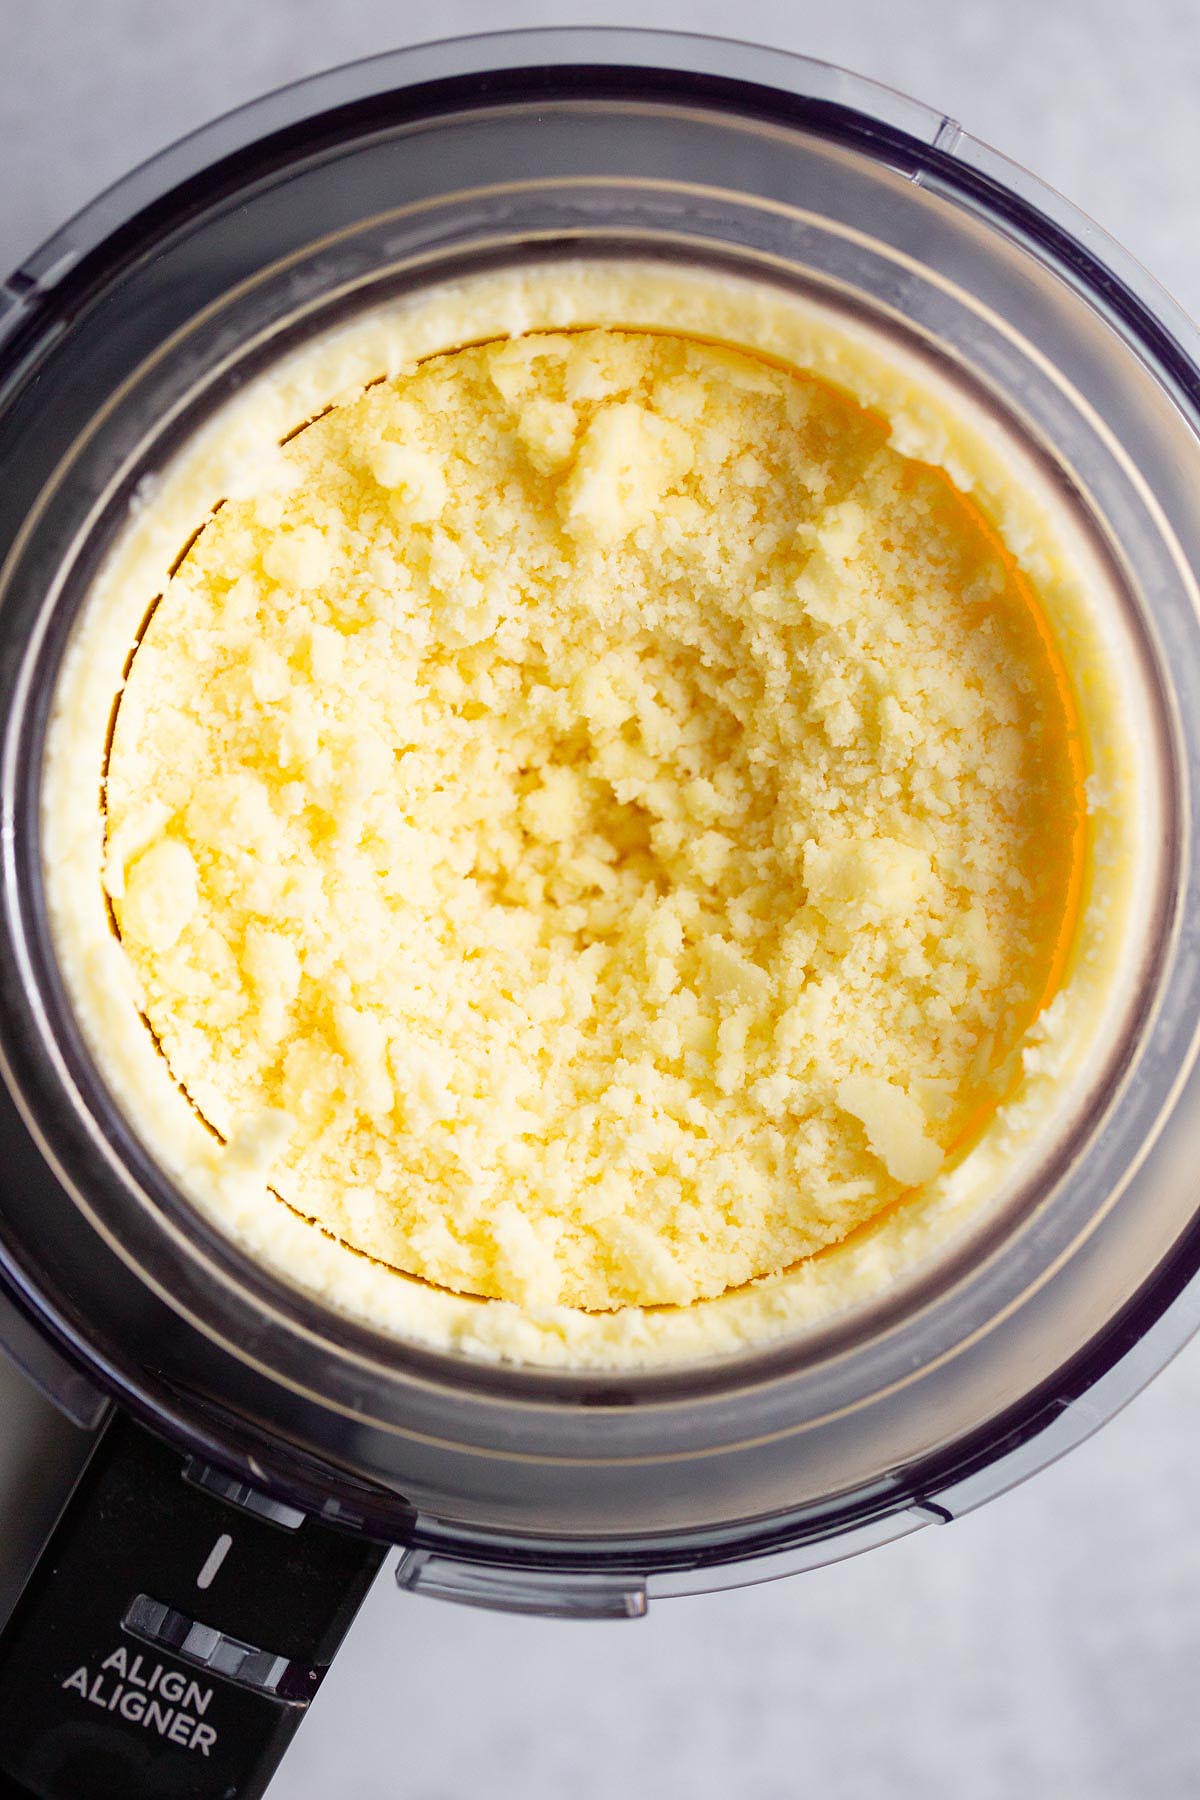
If your ice cream looks more powdery, it usually needs a splash of liquid and a respin. This will allow a little more moisture to get incorporated.
What if my ice cream or sorbet is too soft after processing?
Depending on your freezer and ingredients, sometimes the ice cream can be too soft after processing. If this happens, simply return to the freezer for 20 or so minutes to allow ice cream to harden up. (You may need shorter or longer depending on how soft your ice cream is and how hard you want it to be).
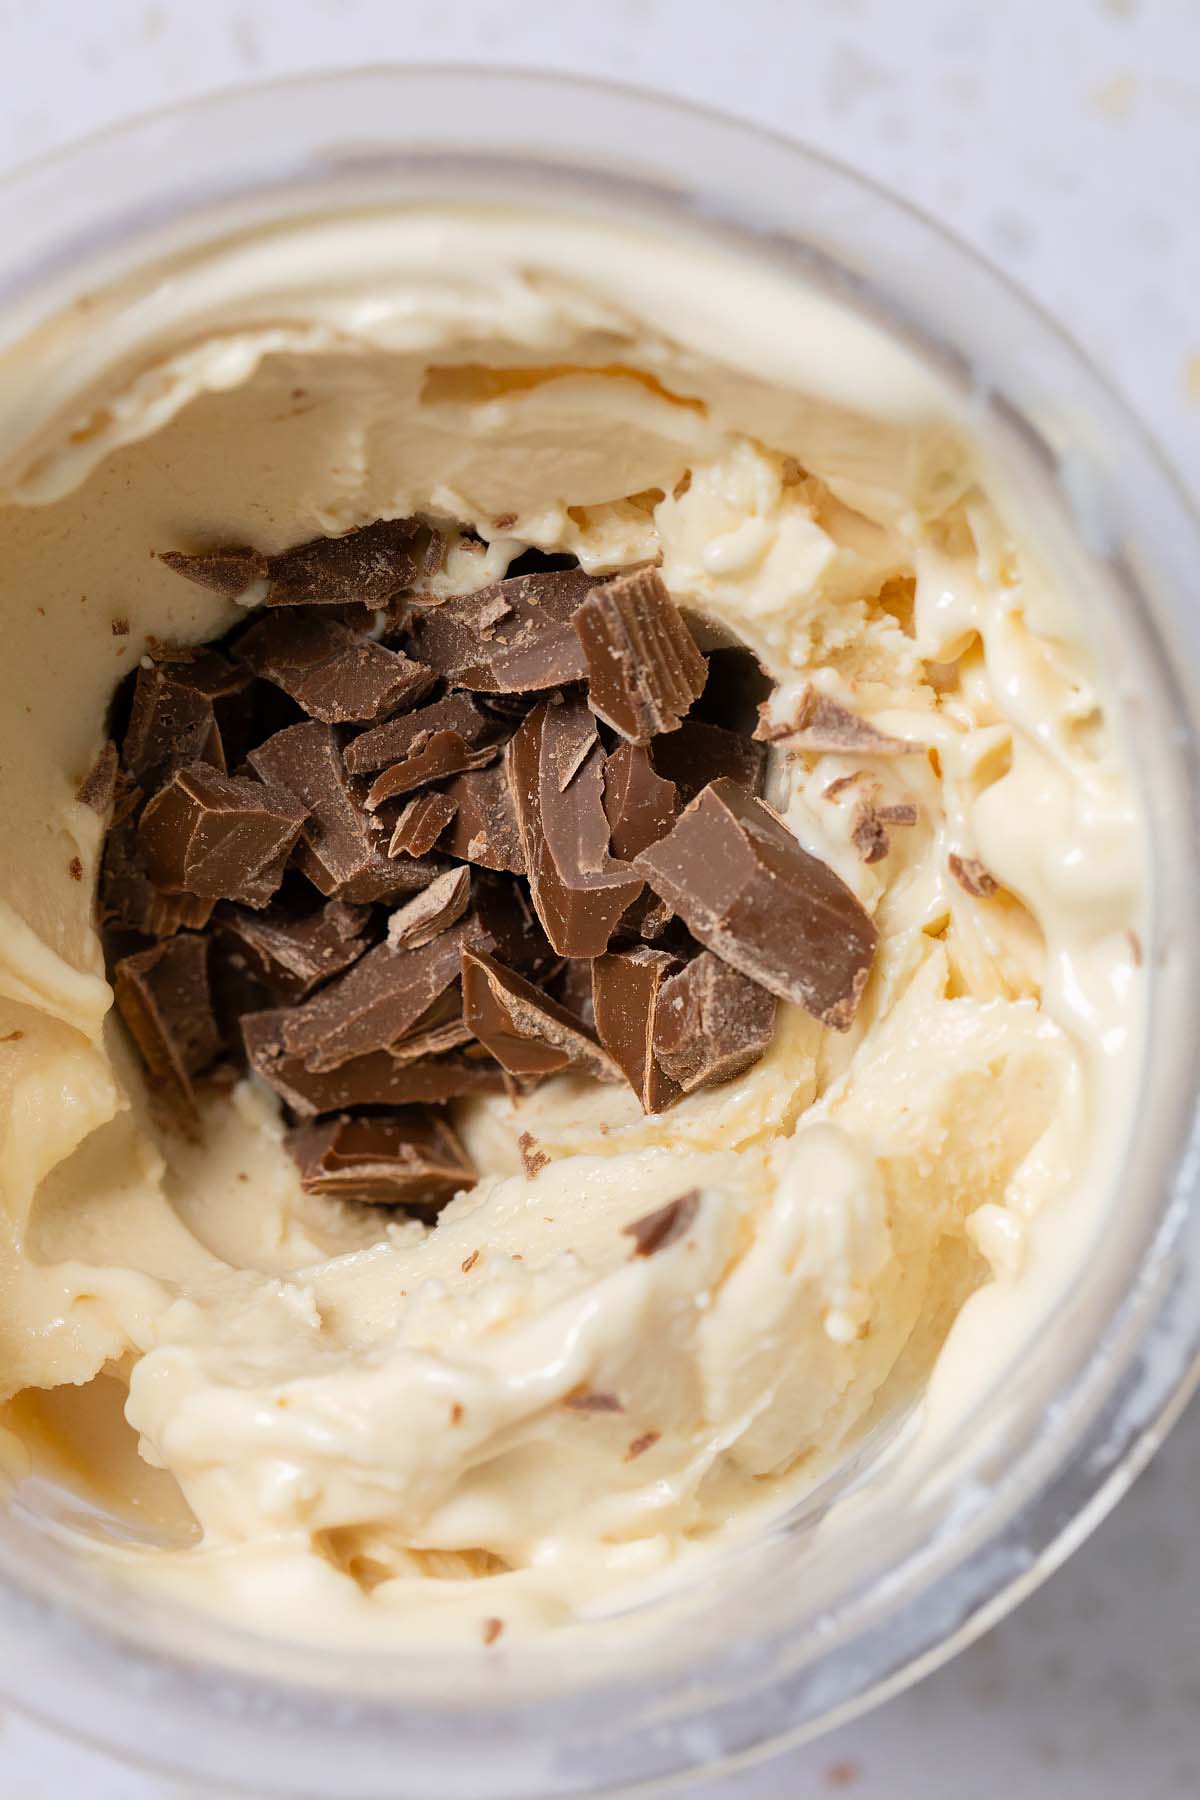
Mix-ins
Mix-ins can make your ice cream so fun and delicious and help you recreate some of your favorite flavors. Just know that many mix-ins need to be chopped before adding. For example, if adding oreos, chocolate chips, candies, nuts, etc, you'll want to chop them up before adding as a mix-in.
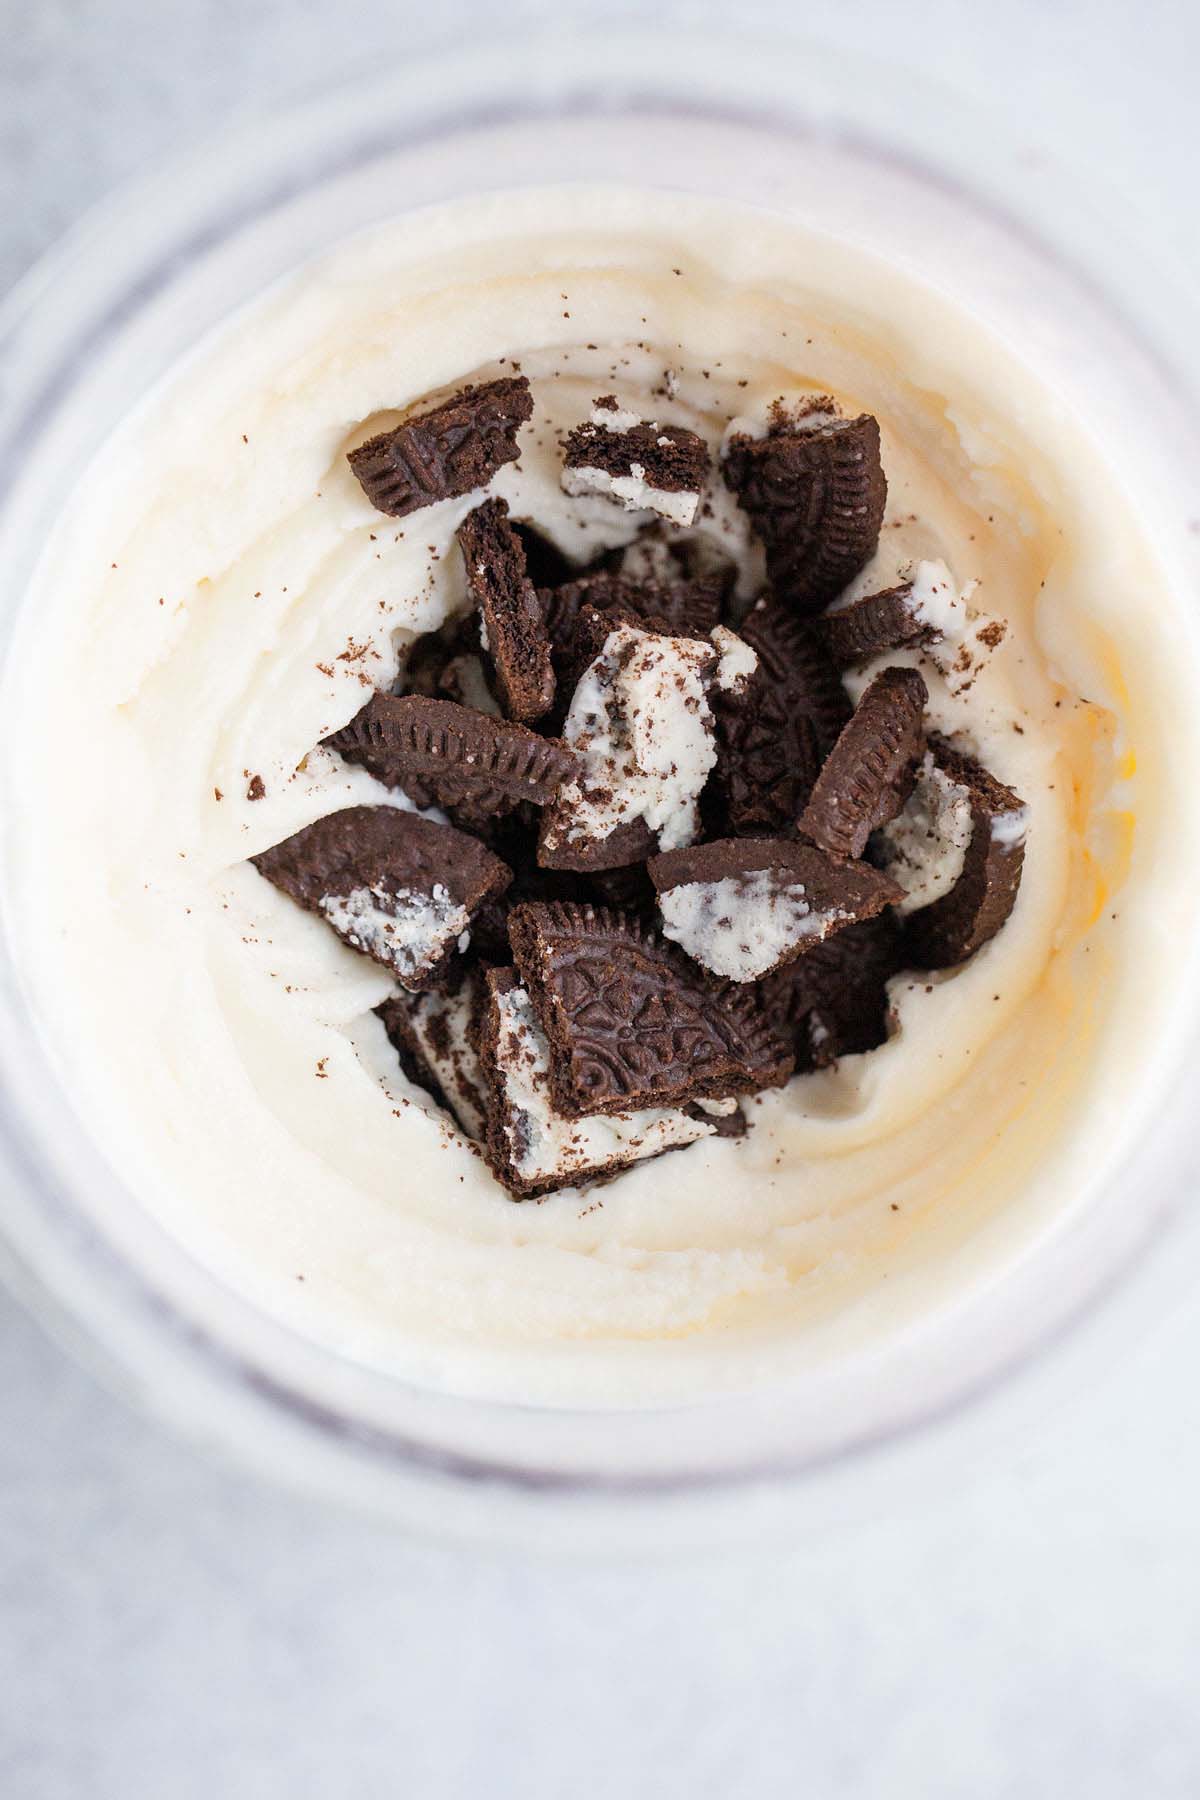
Also, most recipes have you create a hollow area in the center of your ice cream container where you'll add the mix-in. Then, simply use the mix-in feature on your Ninja Creami to incorporate!
Freezing leftovers
If you have leftovers, you will want to smooth out the top, replace the lid, and return to the freezer. I don't usually recommend scooping out and storing in another container, as many times you will need to reprocess (NOT respin) before enjoying again.
Cleaning your Ninja Creami
Separate all the parts of your Ninja Creami and wash. Make sure you remove the blade from the lid, as that part can get ice cream stuck in it. You'll also want to wipe down the screw-looking component (the rotating shaft) that circulates the blade, as that can get ice cream stuck to it.
Leave a Reply