

This easy Ninja Creami vanilla ice cream base is delicious on its own, or used as the base for mix-ins. It's a tasty ice cream base that can be whipped up in only 5 minutes before freezing.

If you are looking for a simple and easy Ninja Creami vanilla base, this is it! It is made with only 5 ingredients, so it's easy to whip up.
This vanilla base doesn't use eggs, so it doesn't require any cooking (other than softening the cream cheese in the microwave). No microwave? You can also just leave the cream cheese out for a bit to soften more.
This vanilla base is the perfect base to use for all your Creami recipes that use vanilla ice cream. Get creative with your mix ins and enjoy creating your own ice creams with your Creami!
This is my go-to base because it's easy and turns out so delicious. If you're looking for a high-protein vanilla base, try my Ninja Creami cottage cheese vanilla ice cream.
Ingredients
- Cream cheese
- Sugar
- Vanilla extract
- Milk
- Heavy cream
How to make Ninja Creami vanilla ice cream
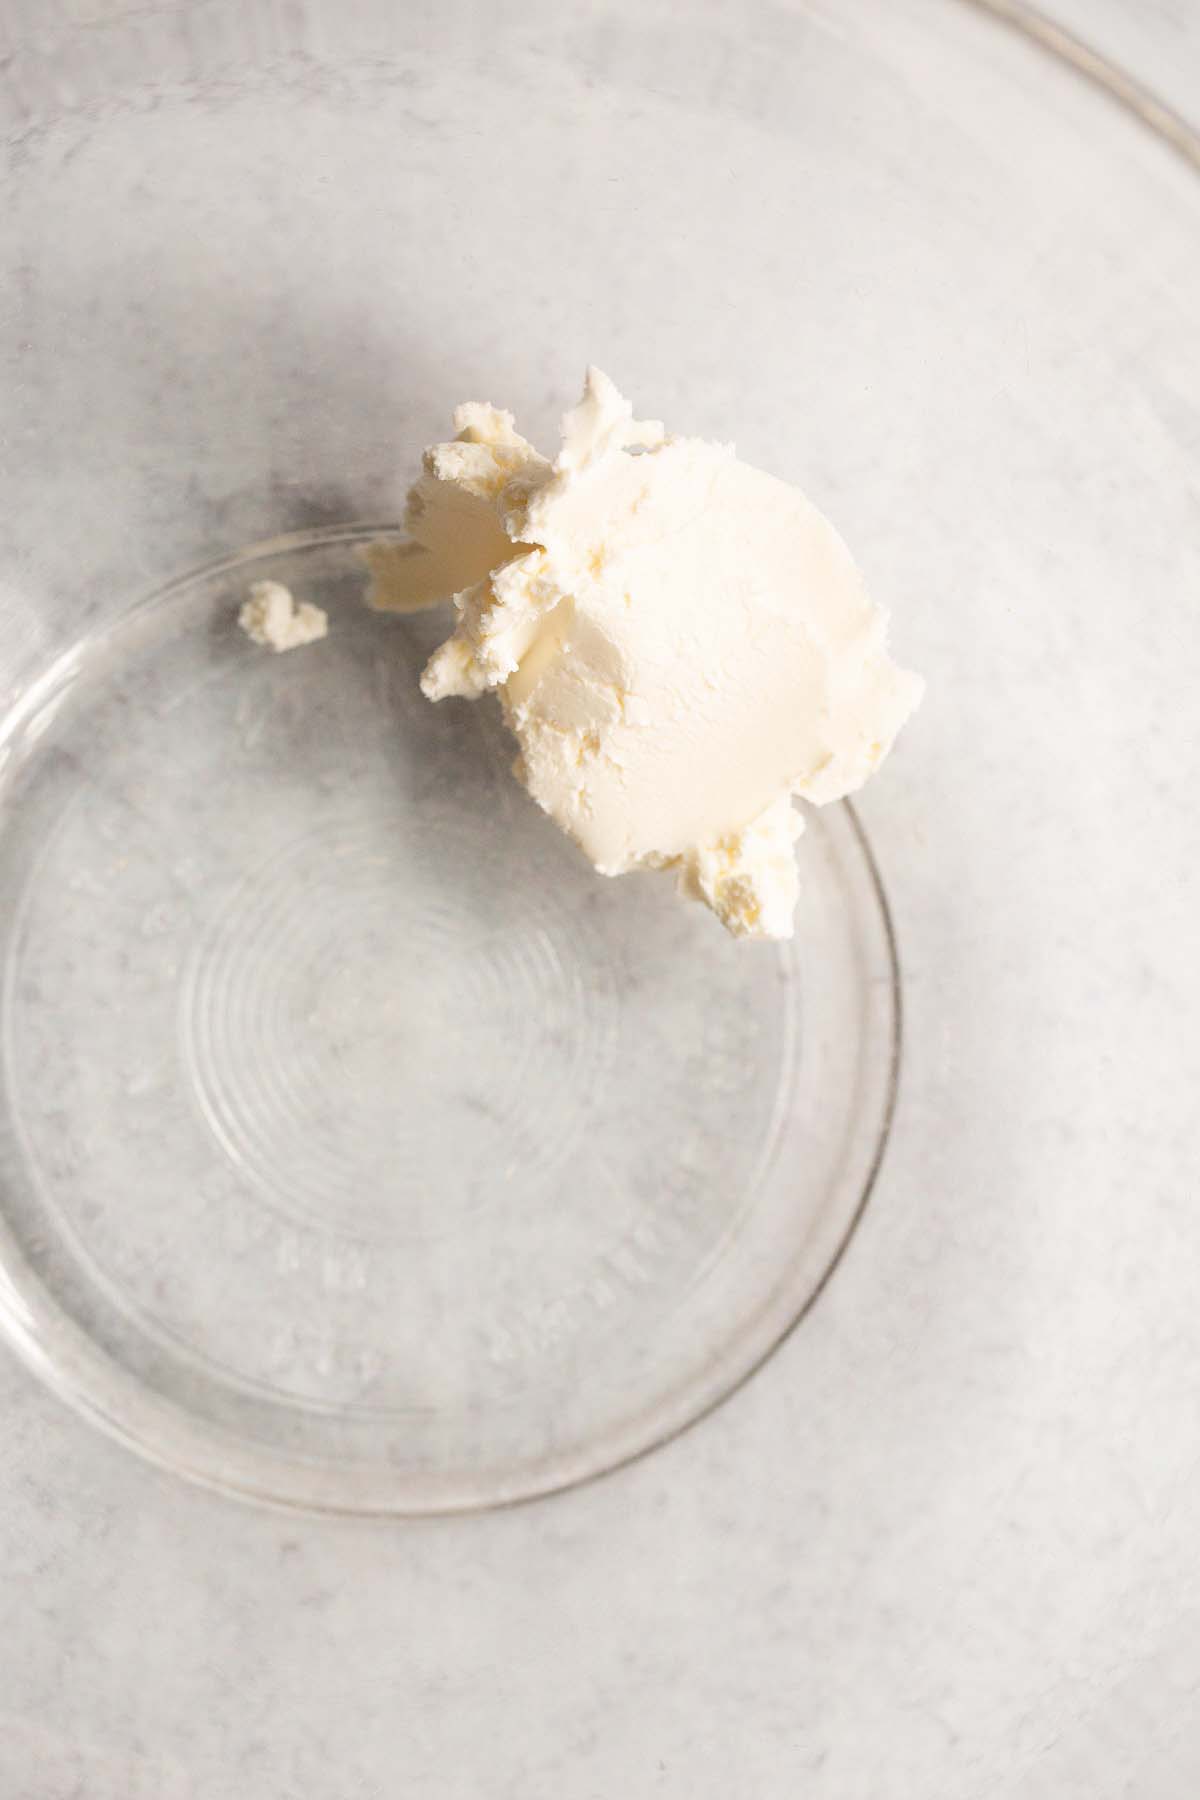
Add the cream cheese to a large, microwave safe bowl and microwave for 10 seconds.
Add the sugar and vanilla extract to the bowl.
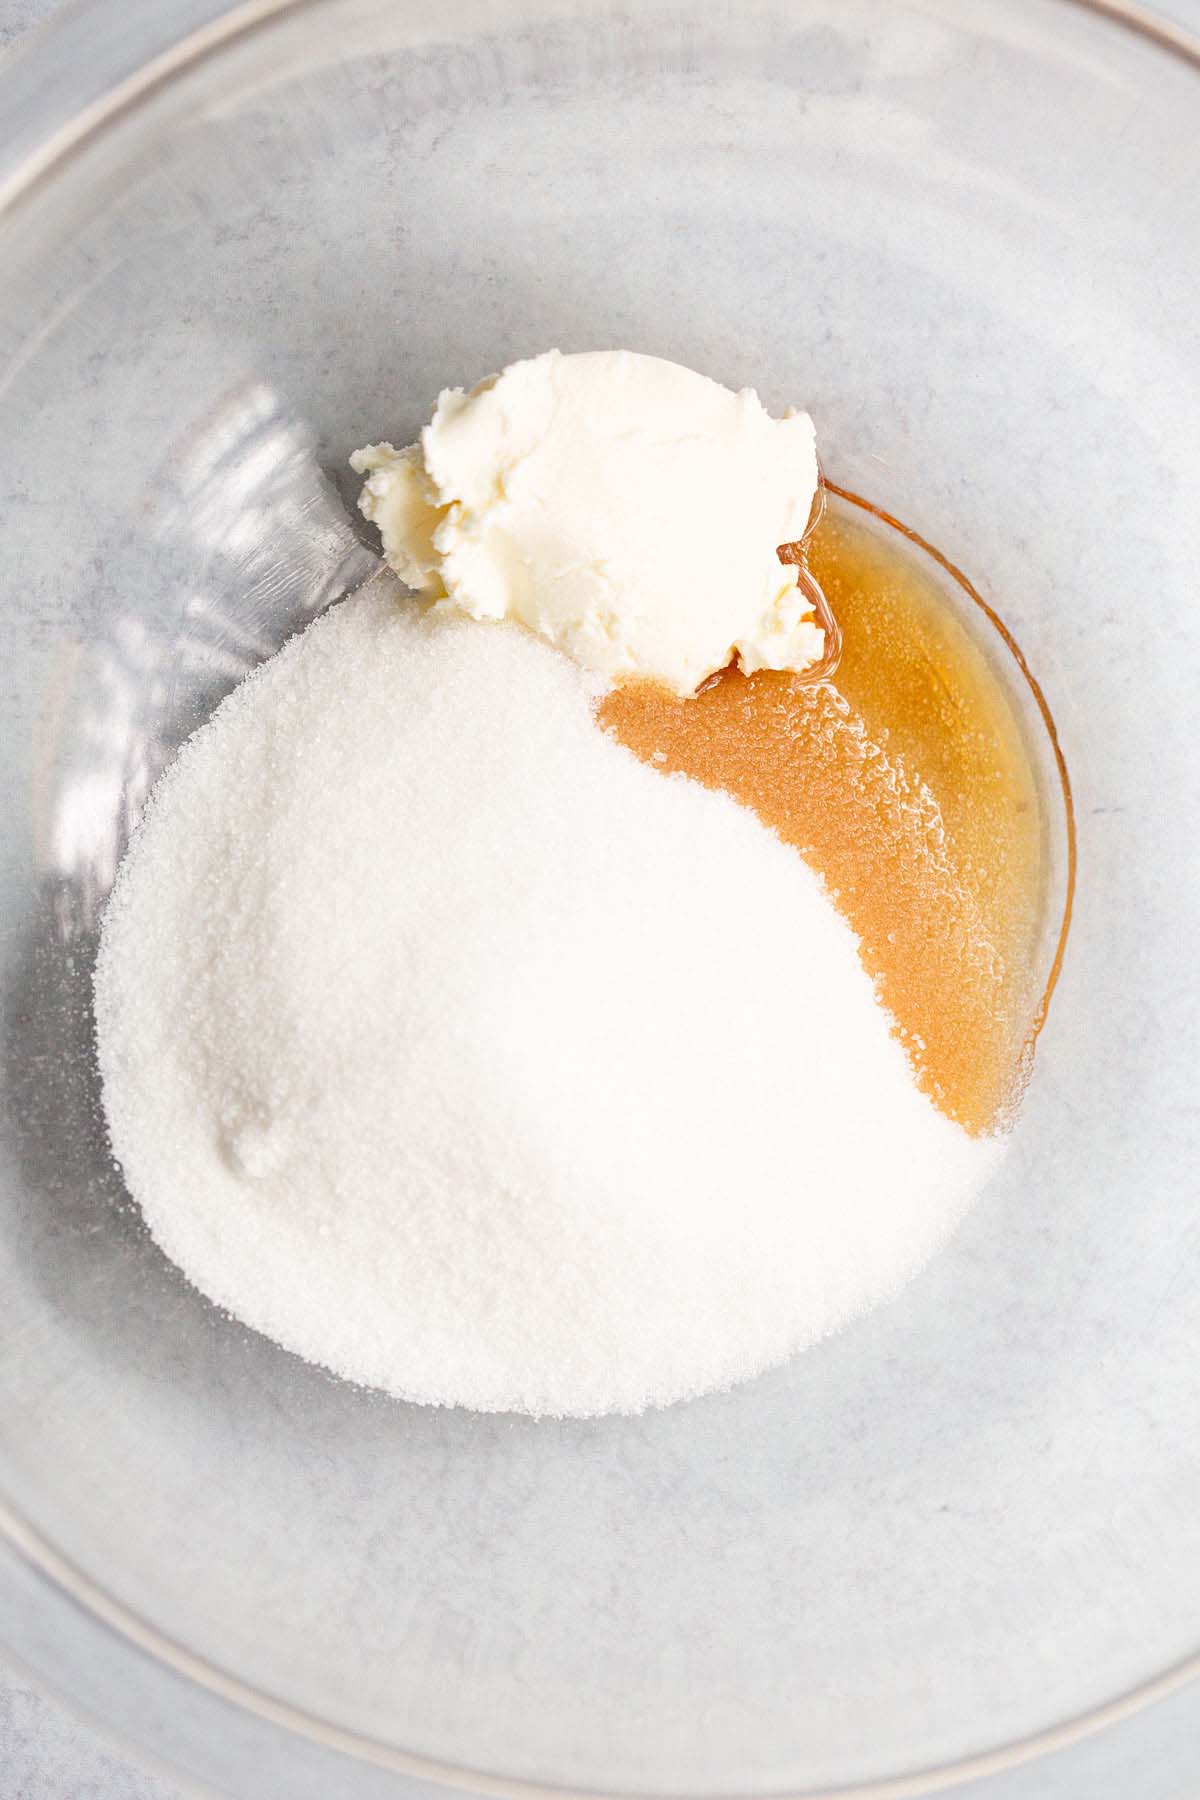
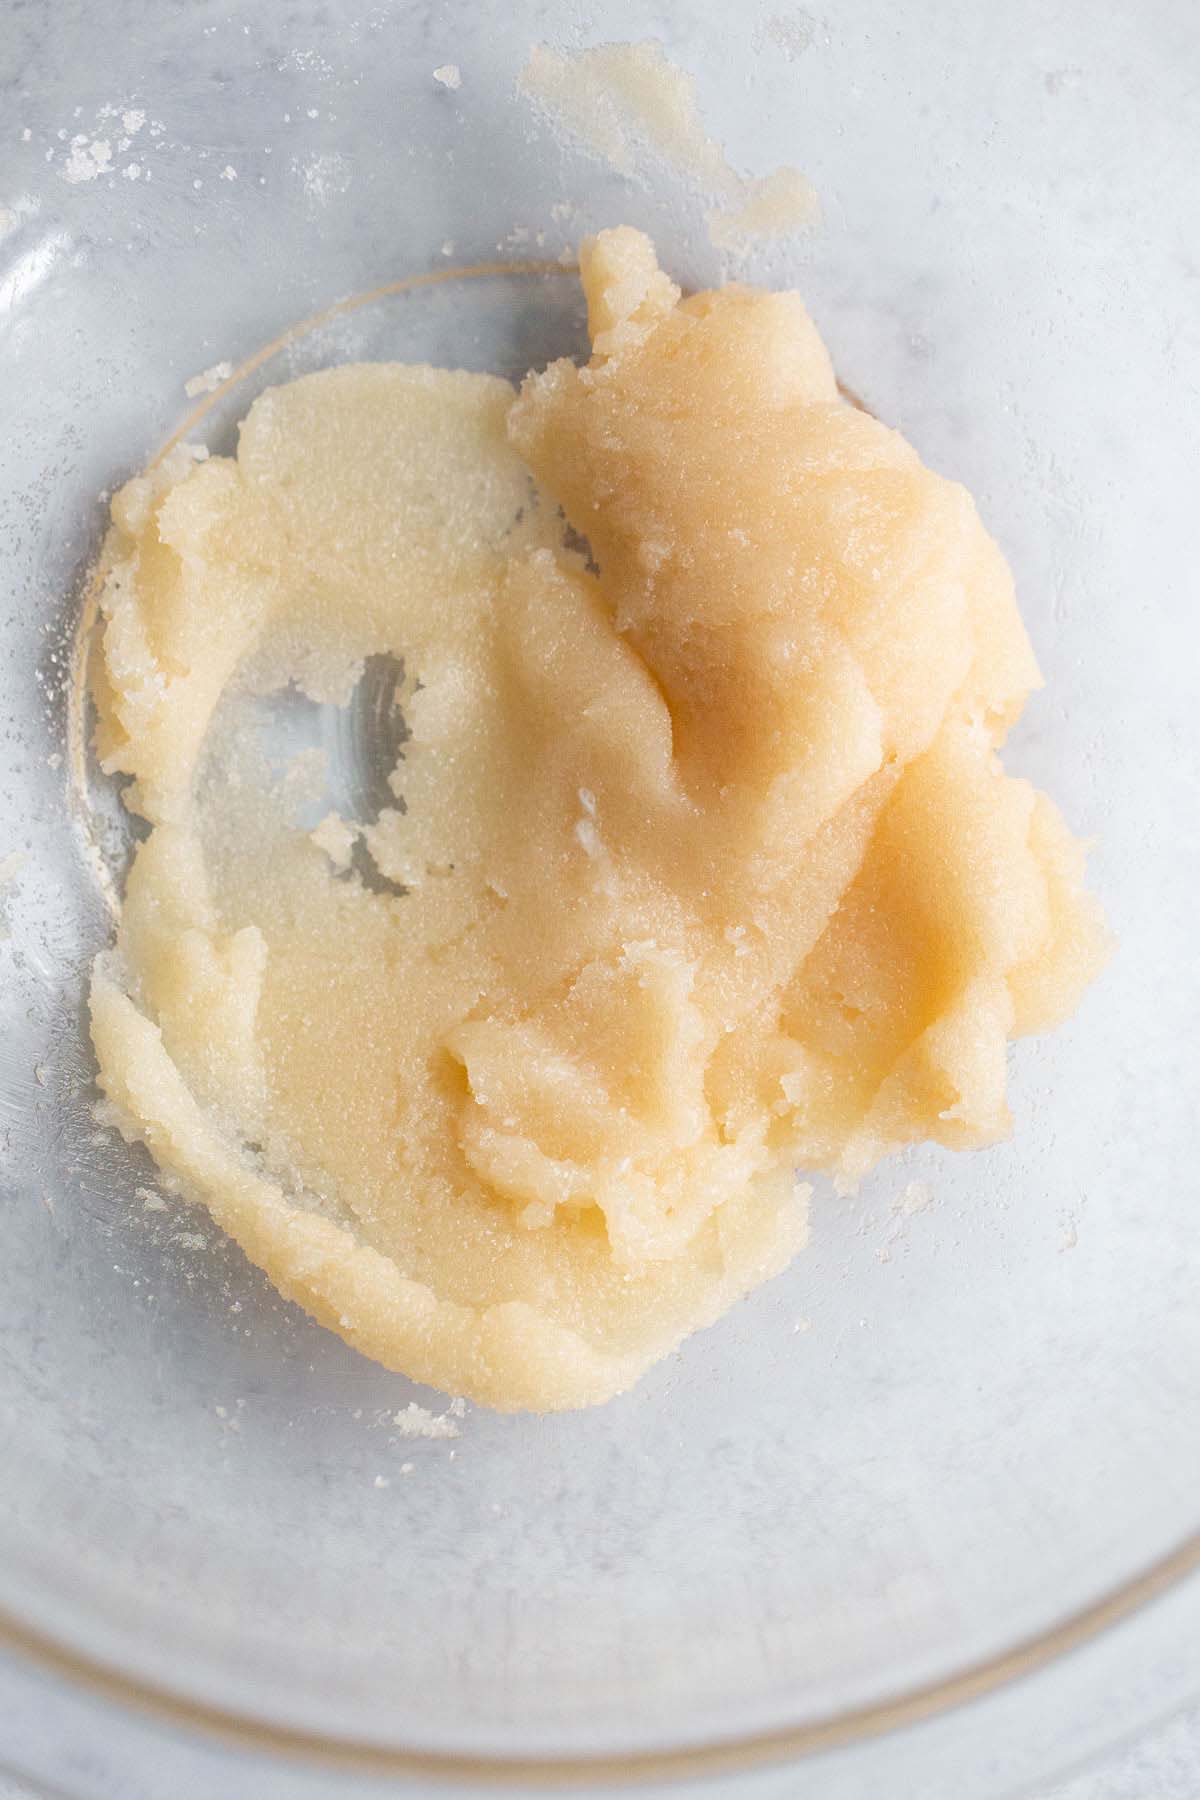
Mix up these ingredients until combined (I usually do this with a spatula).
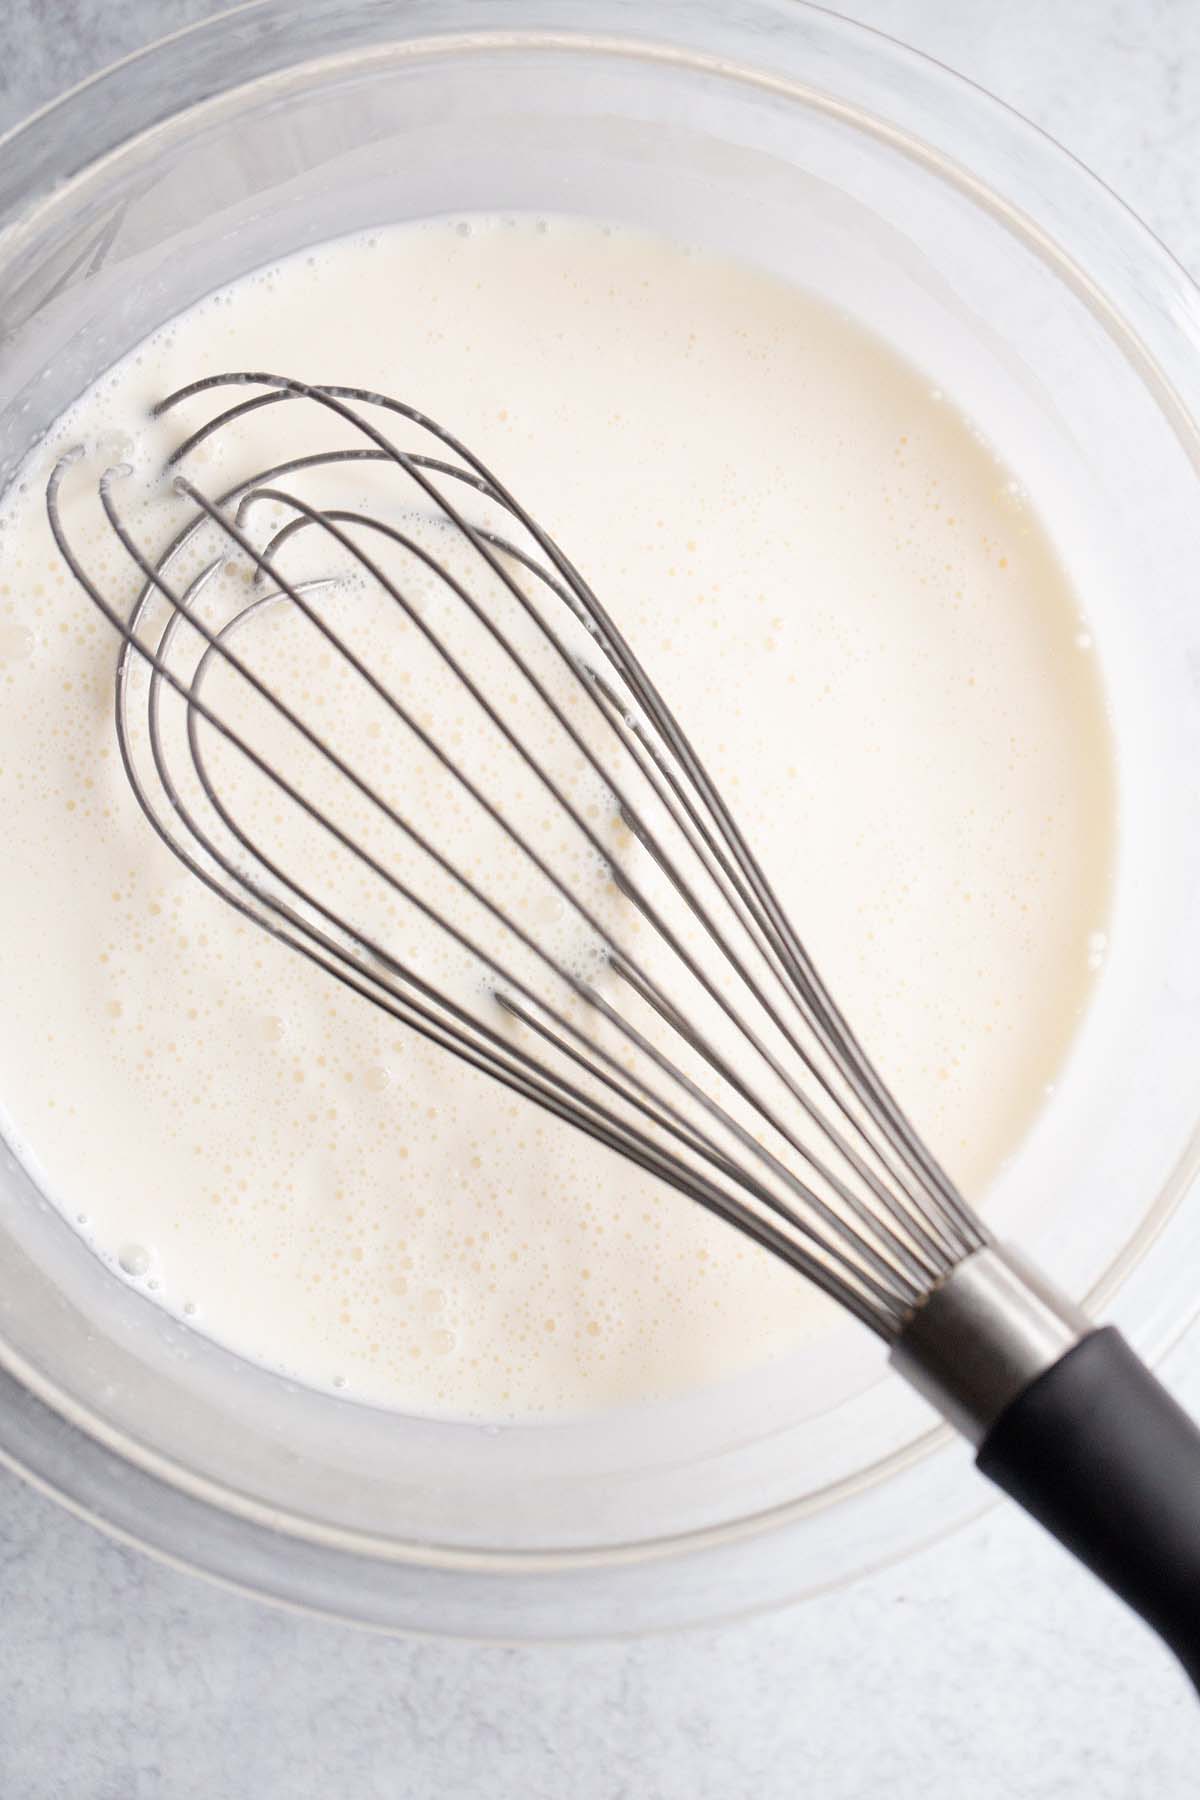
Add heavy cream and milk (alternately, you could use half and half).
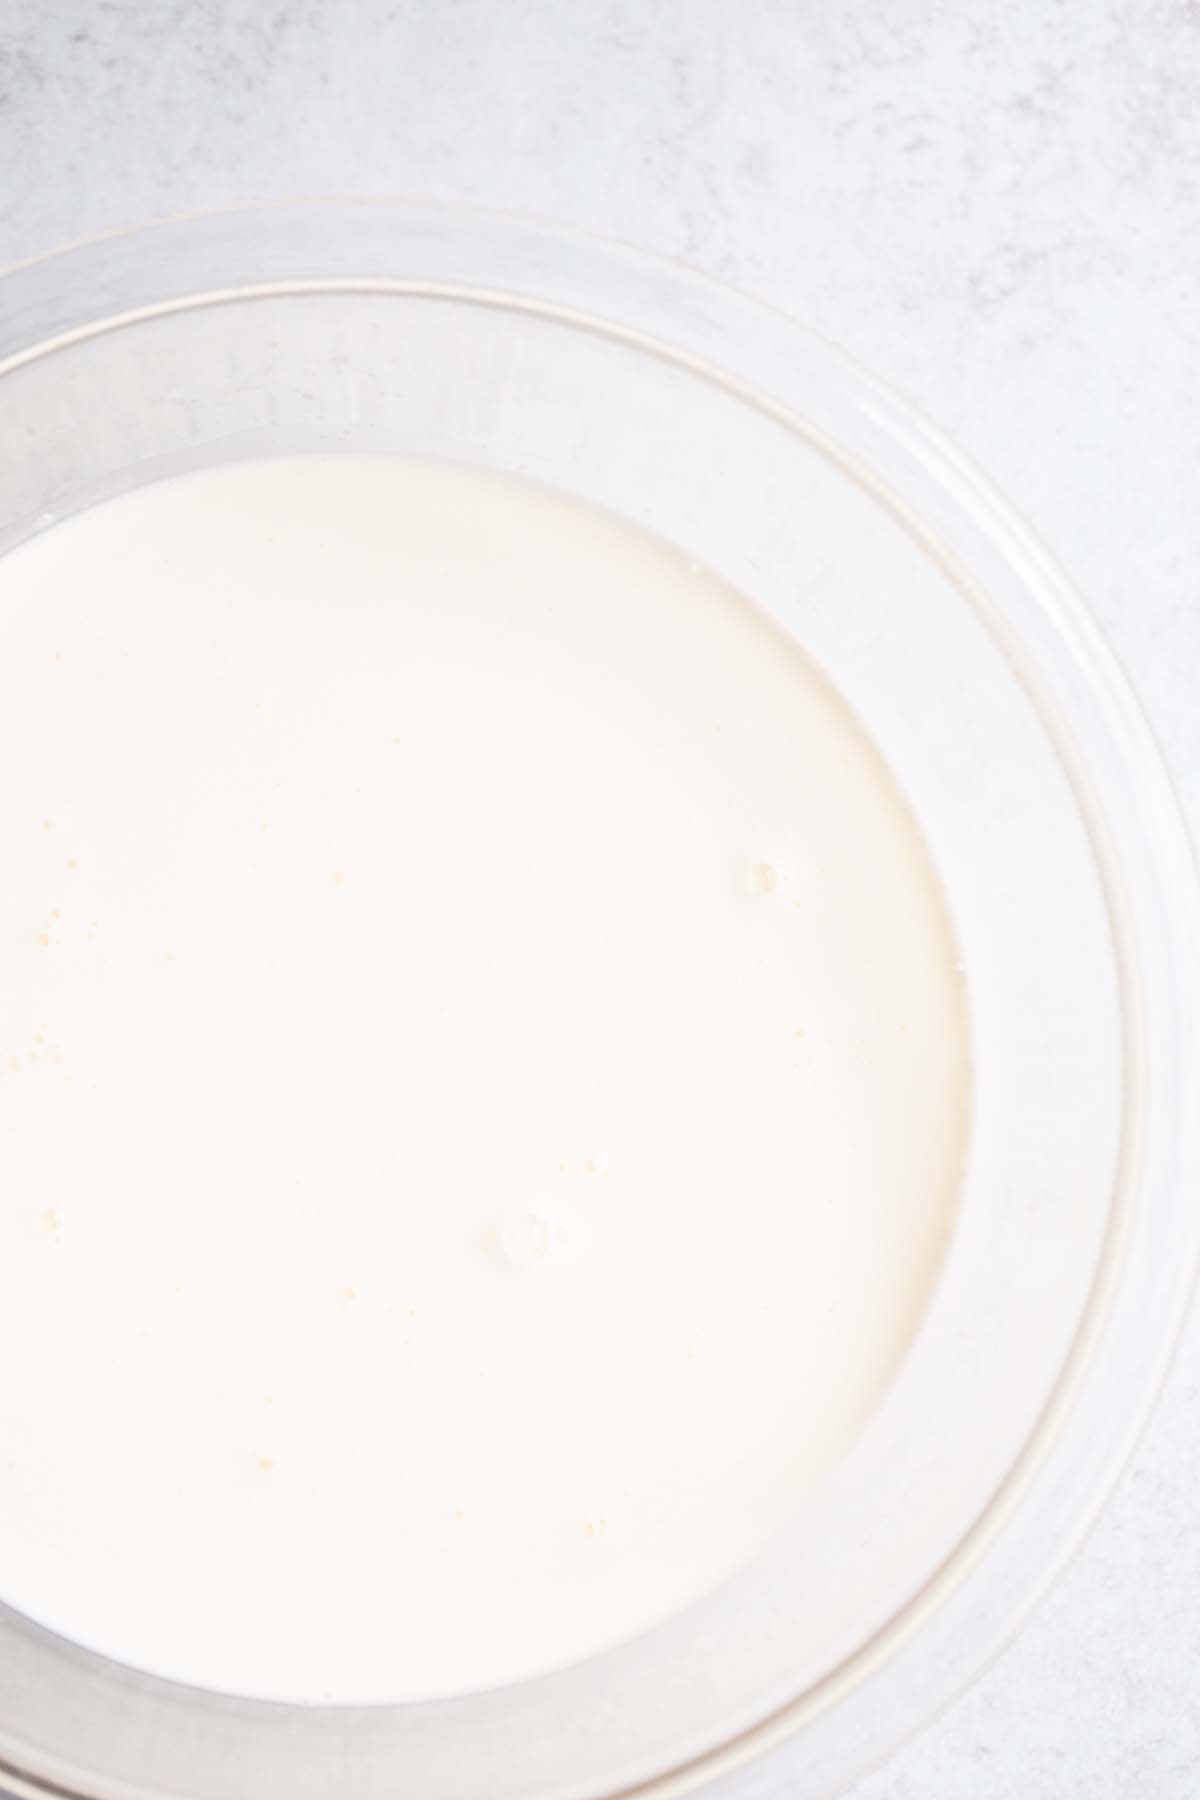
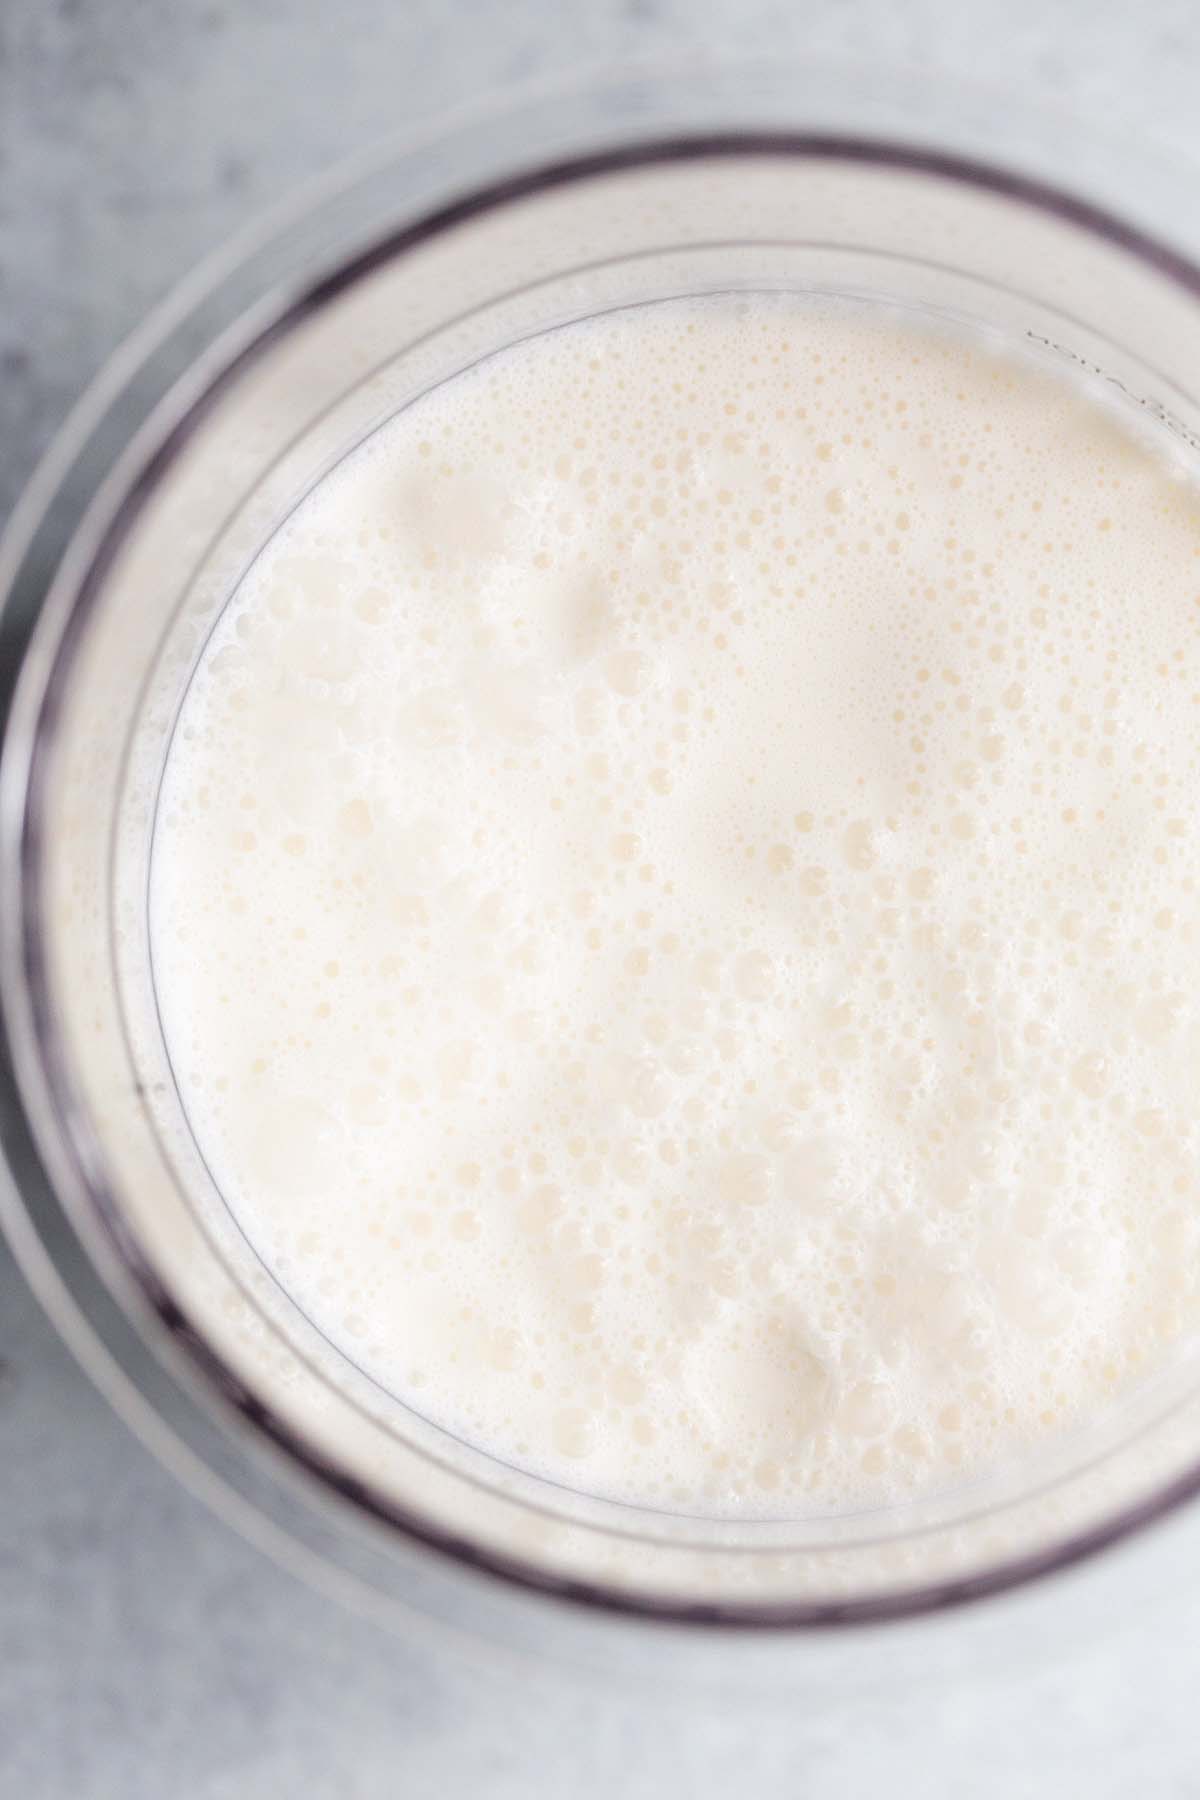
Whisk together until completely combined.
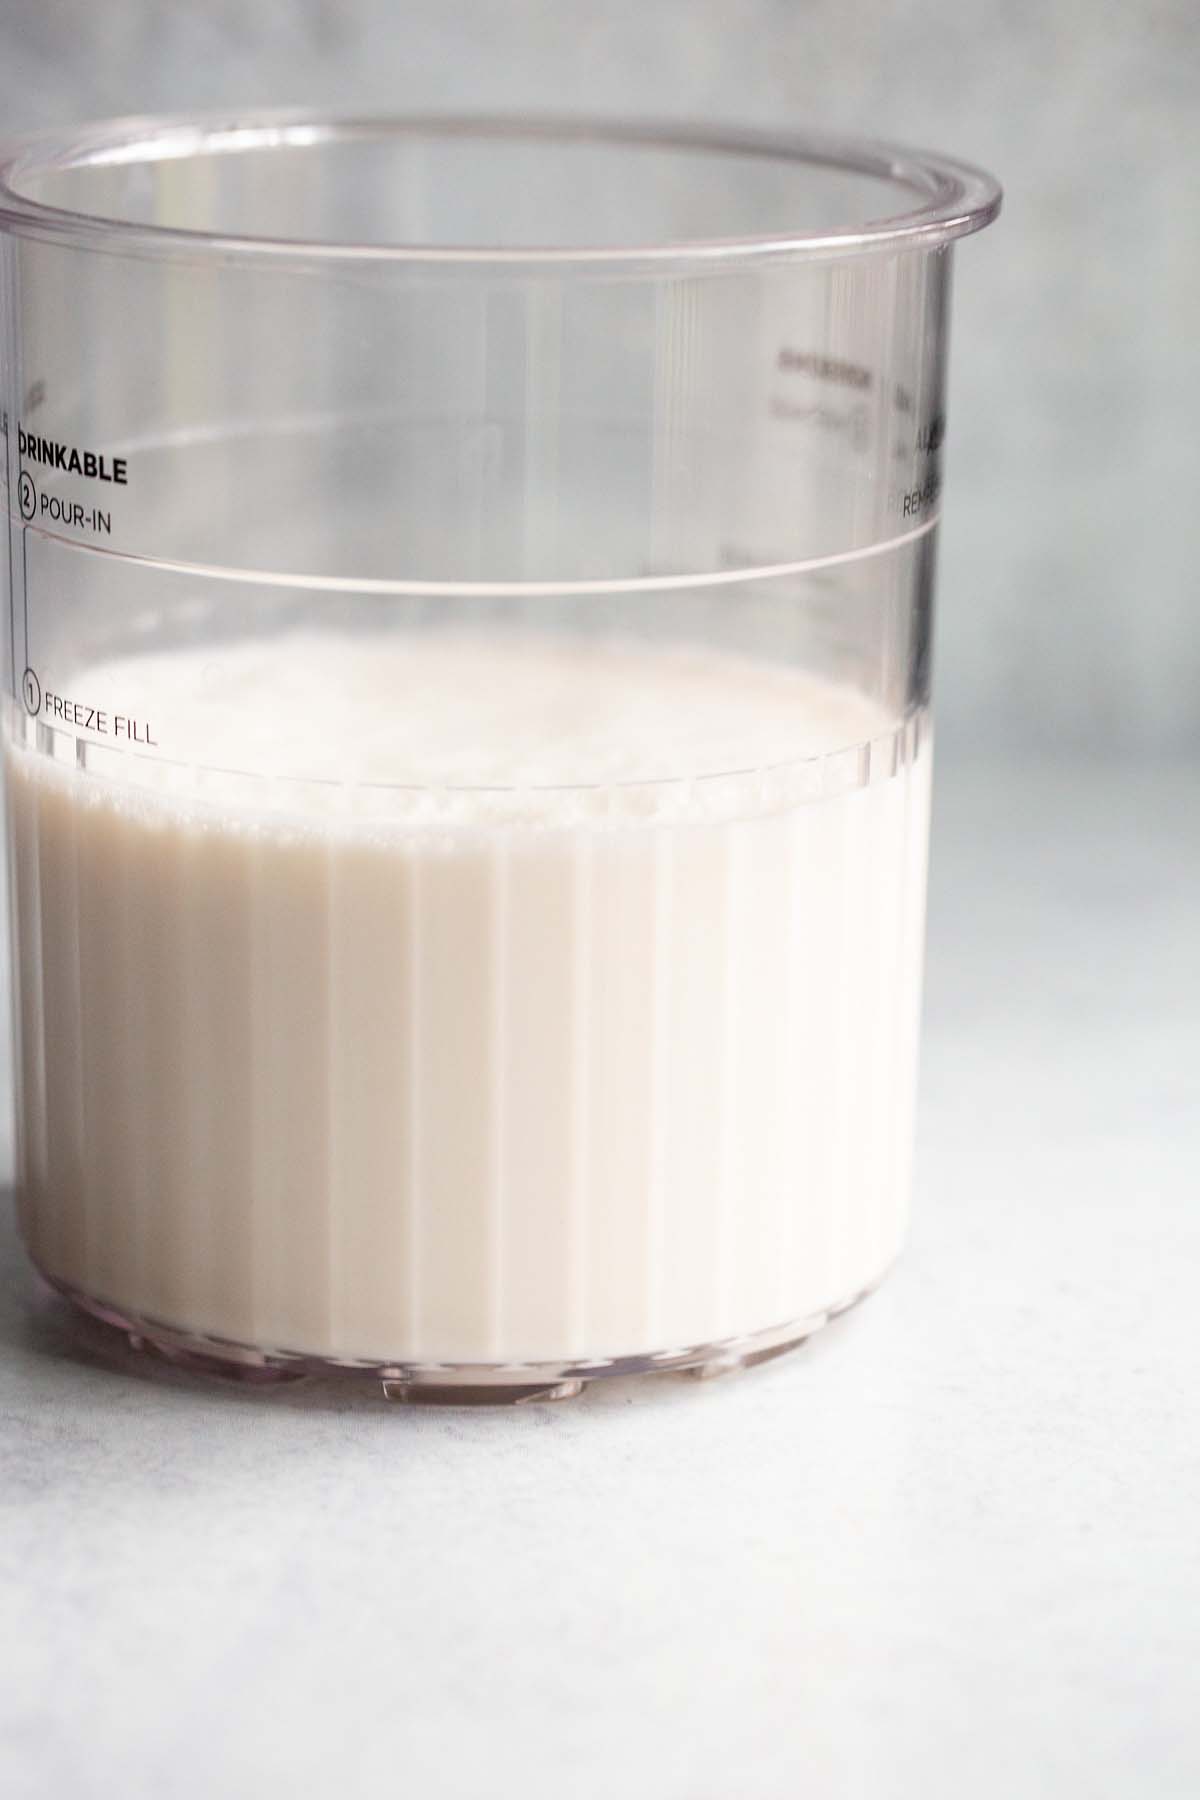
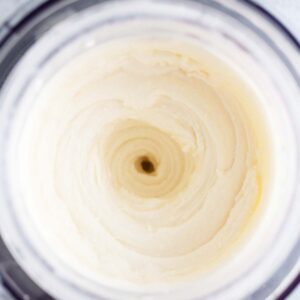
Pour into your Ninja Creami pint container until you reach the fill line. (This recipe should make exactly 16 ounces, but watch carefully just in case).
Voila! Here is is pictured in a Ninja Creami Deluxe container. Add the lid, and then put in your freezer on a flat surface and freeze for 24 hours.
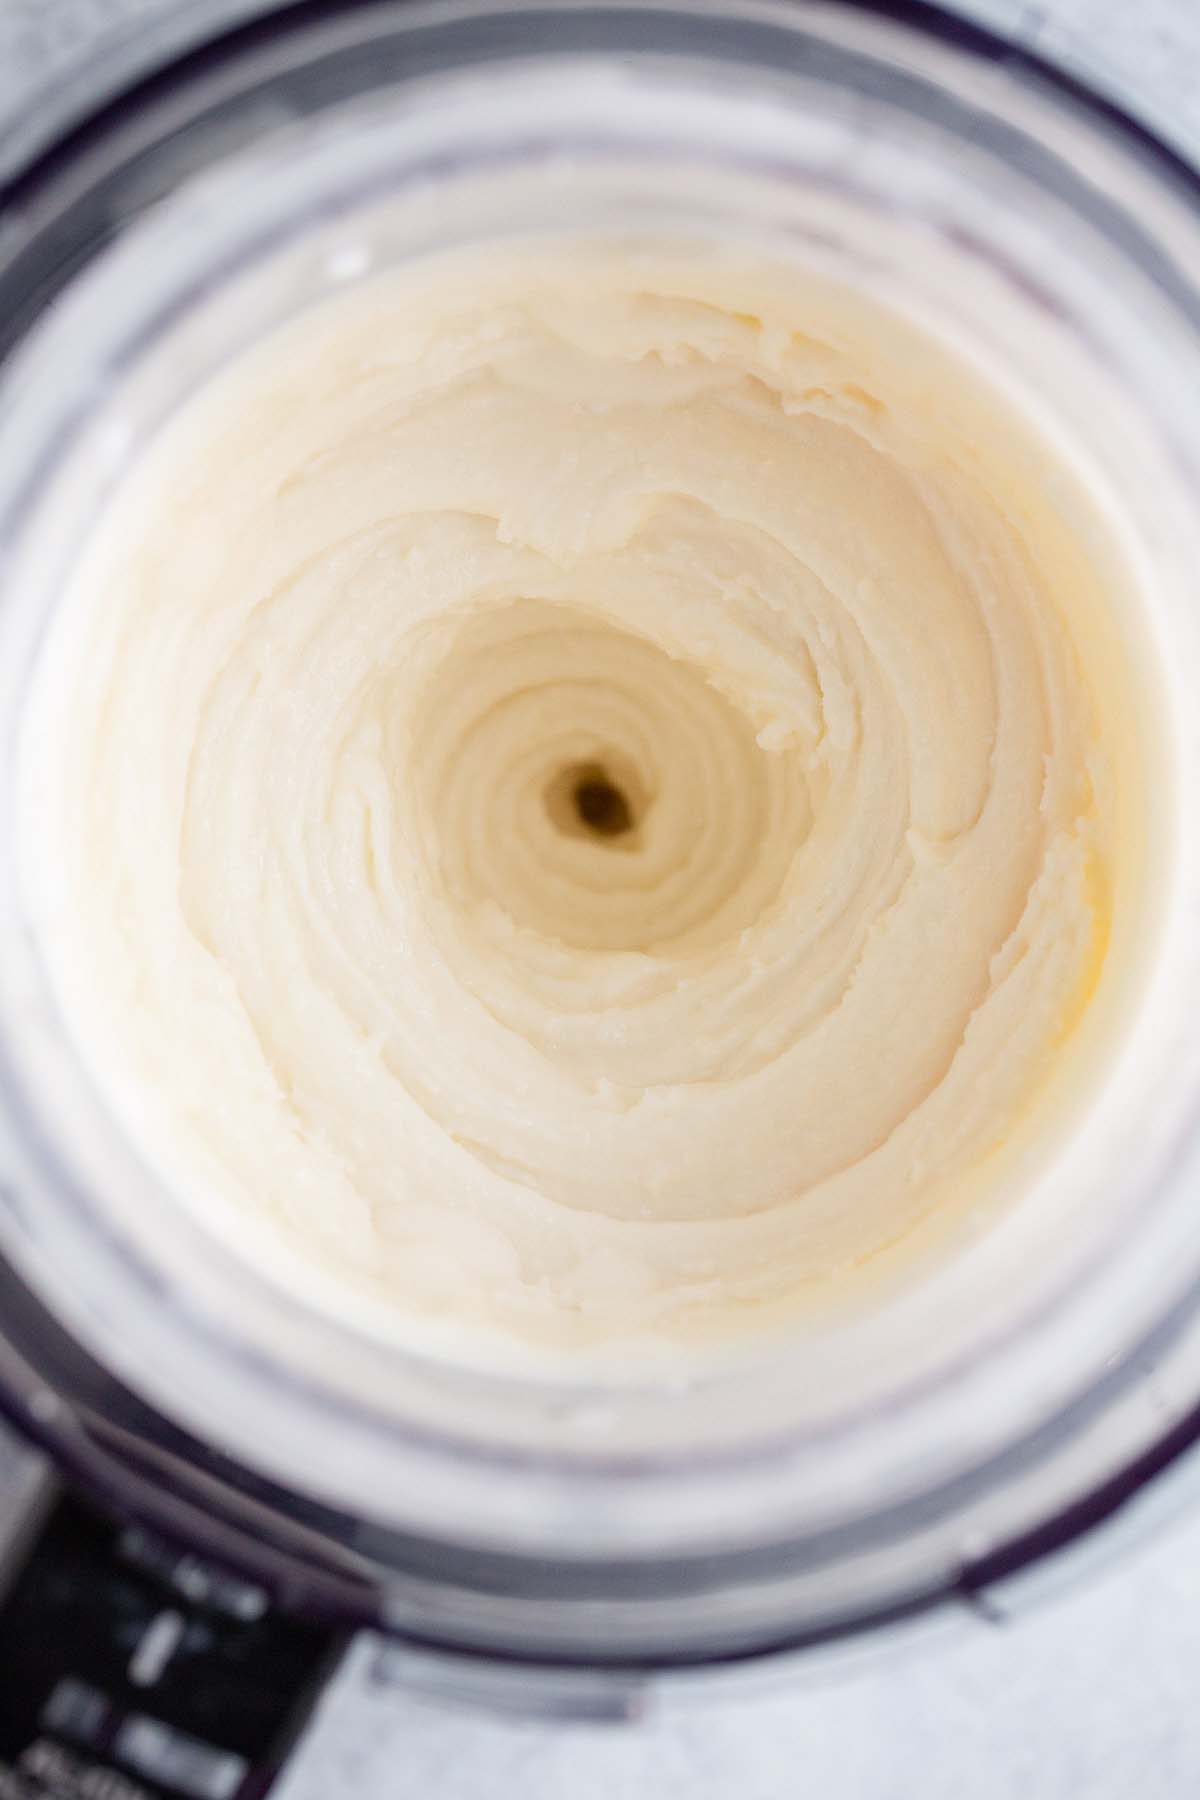
After 24 hours is up, your vanilla pint is ready to be processed! Place in the Ninja Creami and process on ICE CREAM mode.
Your Creami vanilla pint should be creamy and delicious! Ready to enjoy or add a mix-in to. If the ice cream is powdery or hard, remix or add a splash of milk and remix.
Recipe tips
- I have never had to thaw my frozen ice cream pint before processing. However, if you find that is an issue for you, either thaw for 10-15 minutes before processing or run a little hot water along the edges of your pint before processing.
- If your ice cream is powdery after processing, re-spin it with a tiny splash of milk.
- If your ice cream is too soft after processing, return to your freezer for an hour before serving. (Also check the temperature of your freezer).
Equipment needed
- Ninja Creami or Ninja Creami Deluxe
- Whisk
- Large, microwave-safe bowl
How to adapt for Ninja Creami Deluxe
The Ninja Creami holds 16 ounces (a typical pint). The Ninja Creami Deluxe holds 24 ounces. While you can still make 16 ounces in a Ninja Creami Deluxe no problem, if you want to make a vanilla base for the full 24 ounces, you'll want to 1.5x all the ingredients.
What if my Creami base is too hard?
If your vanilla base is too hard, leave out for 10-15 minutes before processing or run a little hot water on the outside of your pint container to loosen it up.
You should be able to process it regardless, but may want to thaw to properly incorporate the edges.
What if my Creami base is too soft?
If your Ninja Creami base is too soft, then you'll want to stick it back into the freezer for a bit to harden up.
If it's too soft even before you add your mix in, check the temperature of your freezer. You may need to make your freezer colder.
What do do with leftovers
If you have leftovers, smooth out the surface of your ice cream and place your pint back in the freezer.
To enjoy again, simply re-process on the ice cream setting to get it creamy. (Don't respin frozen ice cream, you will need to process again first).
Or, if you like the texture as is, no need to reprocess! Just scoop out and enjoy. (Or eat straight out of the pint, no judgement here!)
Leftover ice cream should keep in the freezer for up to a month.
Ninja Creami Vanilla Ice Cream
Equipment
Ingredients
- 1 Tablespoon cream cheese (½ an ounce)
- ⅓ cup sugar
- 1 teaspoon vanilla extract
- ¾ cup heavy cream
- 1 cup milk
Instructions
- In a large, microwave-safe bowl add the cream cheese. Heat in the microwave for 10 seconds.
- Add the sugar and vanilla extract to the bowl. Stir together to combine completely.
- Add the heavy cream and milk to the bowl and whisk all ingredients together until mixed completely.
- Pour all the mixture into your Ninja Creami pint (or to the fill line).
- Freeze for 24 hours.
- Remove from freezer and process on the ICE CREAM setting.
- Enjoy!
Notes
-
- I have never had to thaw my frozen ice cream pint before processing. However, if you find that is an issue for you, either thaw for 10-15 minutes before processing or run a little hot water along the edges of your pint before processing.
- If your ice cream is powdery after processing, re-spin it with a tiny splash of milk.
- If your ice cream is too soft after processing, return to your freezer for an hour before serving. (Also check the temperature of your freezer).
Nutrition
If nutrition info is shown, values are based on an online calculator and are estimates. Please verify using your own data.
Tanya
I made this for my family. It was easy and delicious. I added sprinkles and whipped cream to the top for my kids.
Kim Bayne
Do really need cream cheese
Aimee
In this version, it helps to give the ice cream an emulsification and acts as a bit of a stabilizer since there are not any others. It also helps the ice cream retain a bit of its "scoopability" after freezing and processing. You can leave it out, but it will alter the texture and the ice cream may be more icy and not as good of a texture.
Bill
This recipe is not for people who enjoy quality tasting vanilla ice cream or have cooking experience this recipe is for people who want convenience and can’t tell the difference between a breyers versus a premium ice cream brand. That said, this will do the trick if you’re craving vanilla ice cream and don’t want to go through hassle but if you spend two days making the base and waiting to spin this you are in for disappointment.
Nicole
I can’t seem to find how to 1.5 the recipe so I just made the 1x in a deluxe pint any way. Delicious!
Robyn Sampson
Alternatively use 1 and 3/4c half and half in place of the heavy cream and milk?
Aimee
Yes, you could do that!