

Ninja Creami cherry ice cream is a delicious treat you can make any time of the year using fresh or frozen cherries.

I've bought so many cherries this summer, as my kids absolutely love them. And I finally bought a cherry pitter for the first time ever! Armed with cherries and a cherry pitter, I knew it was time to make a cherry ice cream.
It's delicious. Very cherry forward. I use cherries in the base and as a mix in for an ultimate cherry experience. I also made it high protein thanks to the cottage cheese. If using cottage cheese, just make sure to use a low-acid/low-tang brand otherwise your cherry ice cream will take a bit more tangy and have cheesecake vibes.
Not wanting to use cottage cheese? You can also swap out the cottage cheese for ricotta, which also adds protein and has a very neutral, mild flavor.
Ingredients
- Cottage cheese (low-acid, low-tang brand)
- Cherries (fresh or frozen)
- Milk
- Sugar
- Almond extract (or vanilla)
How to make Ninja Creami cherry ice cream
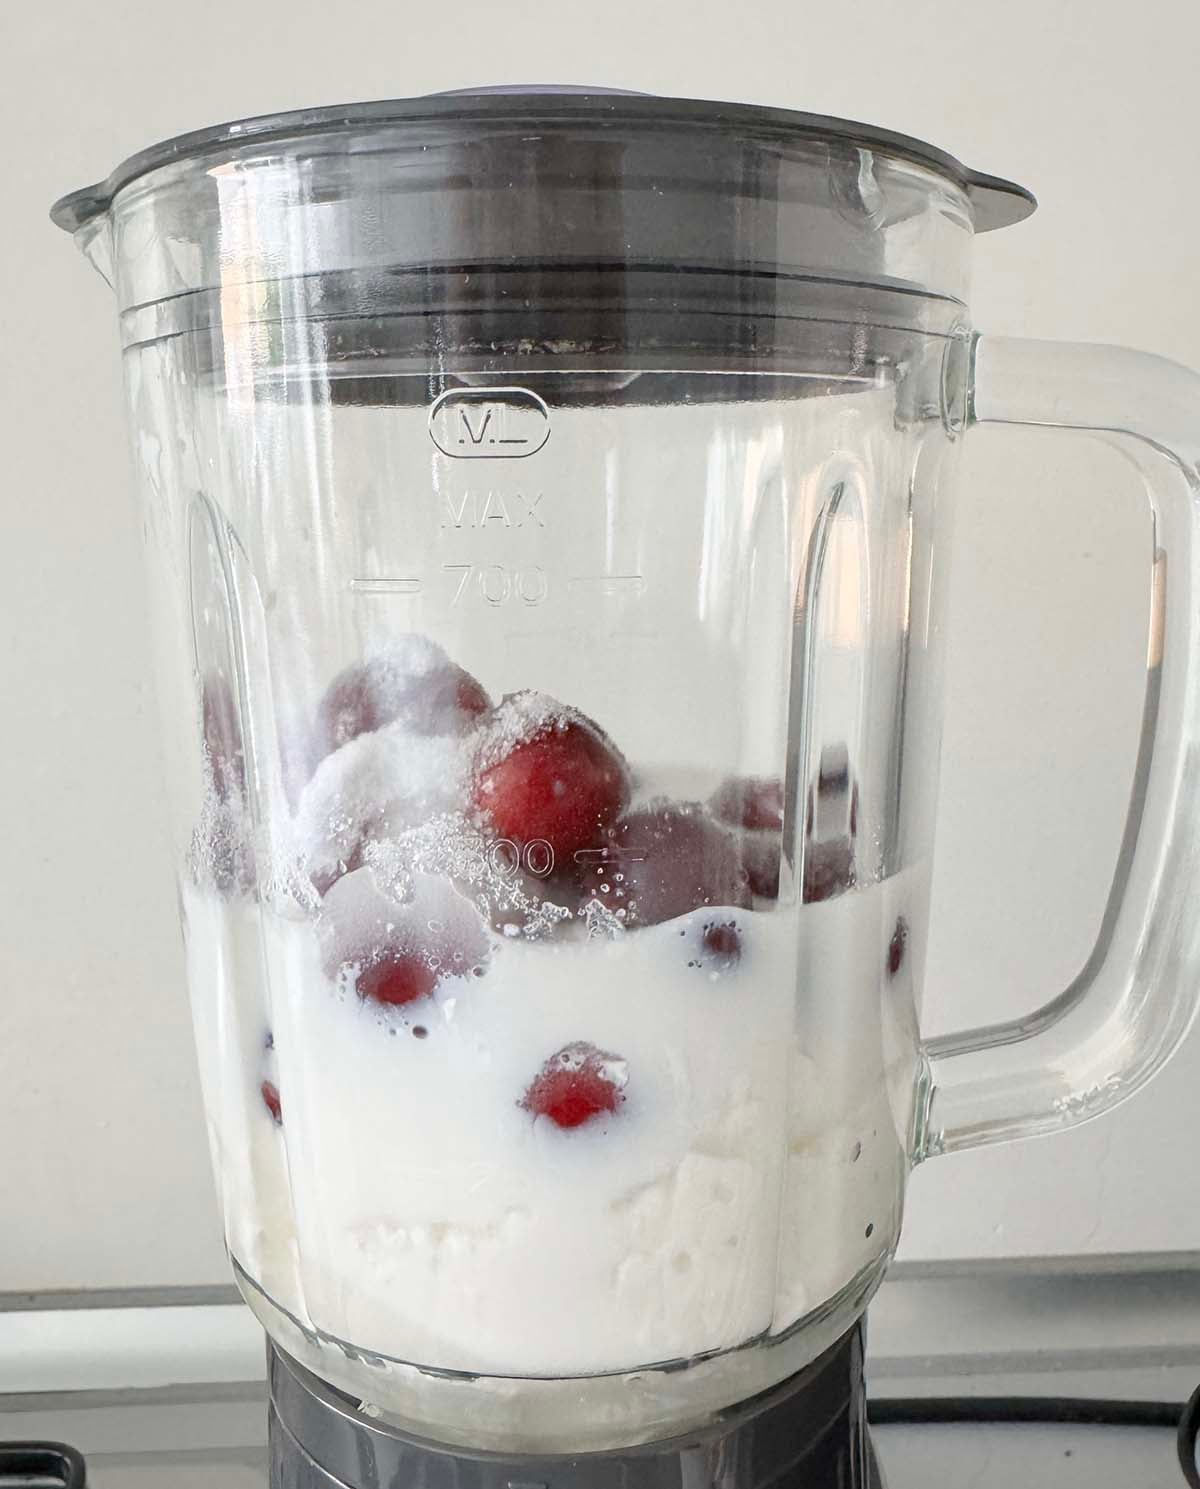
Remove stems from cherries and pit cherries. Add all ingredients to a blender and blend until smooth.
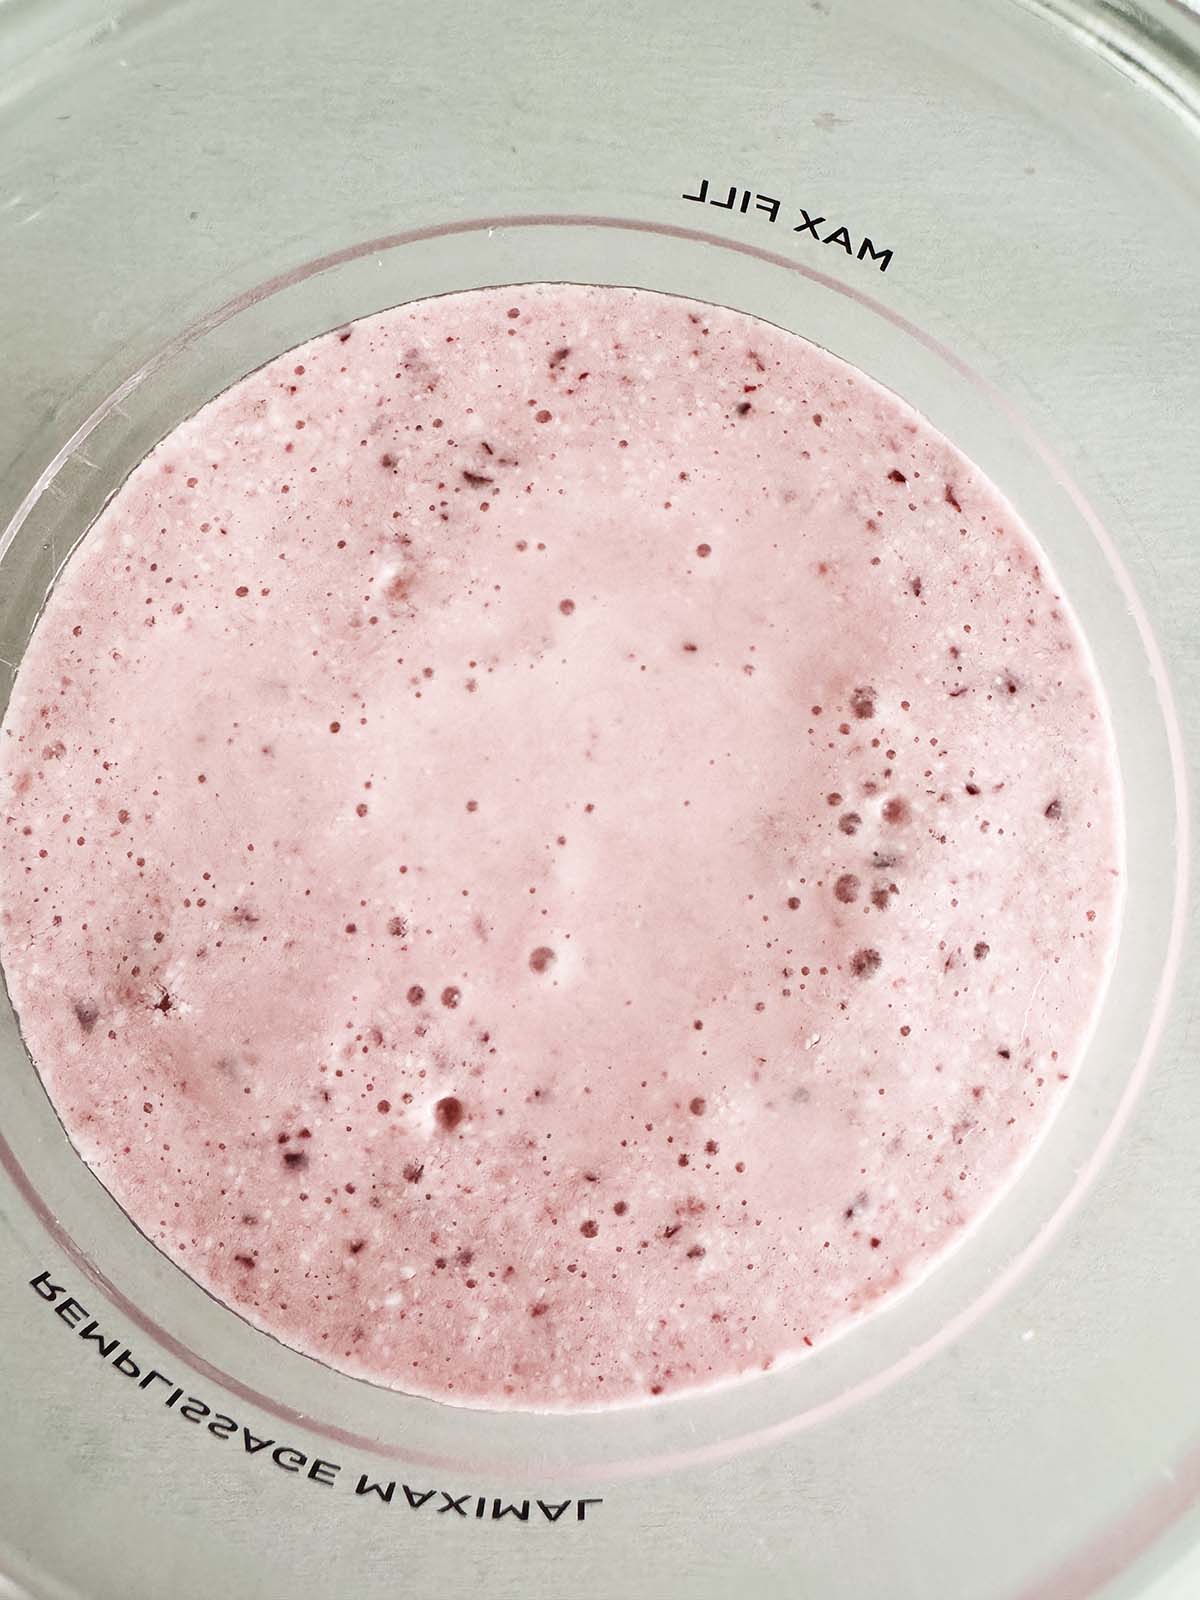
Pour into Ninja Creami container.
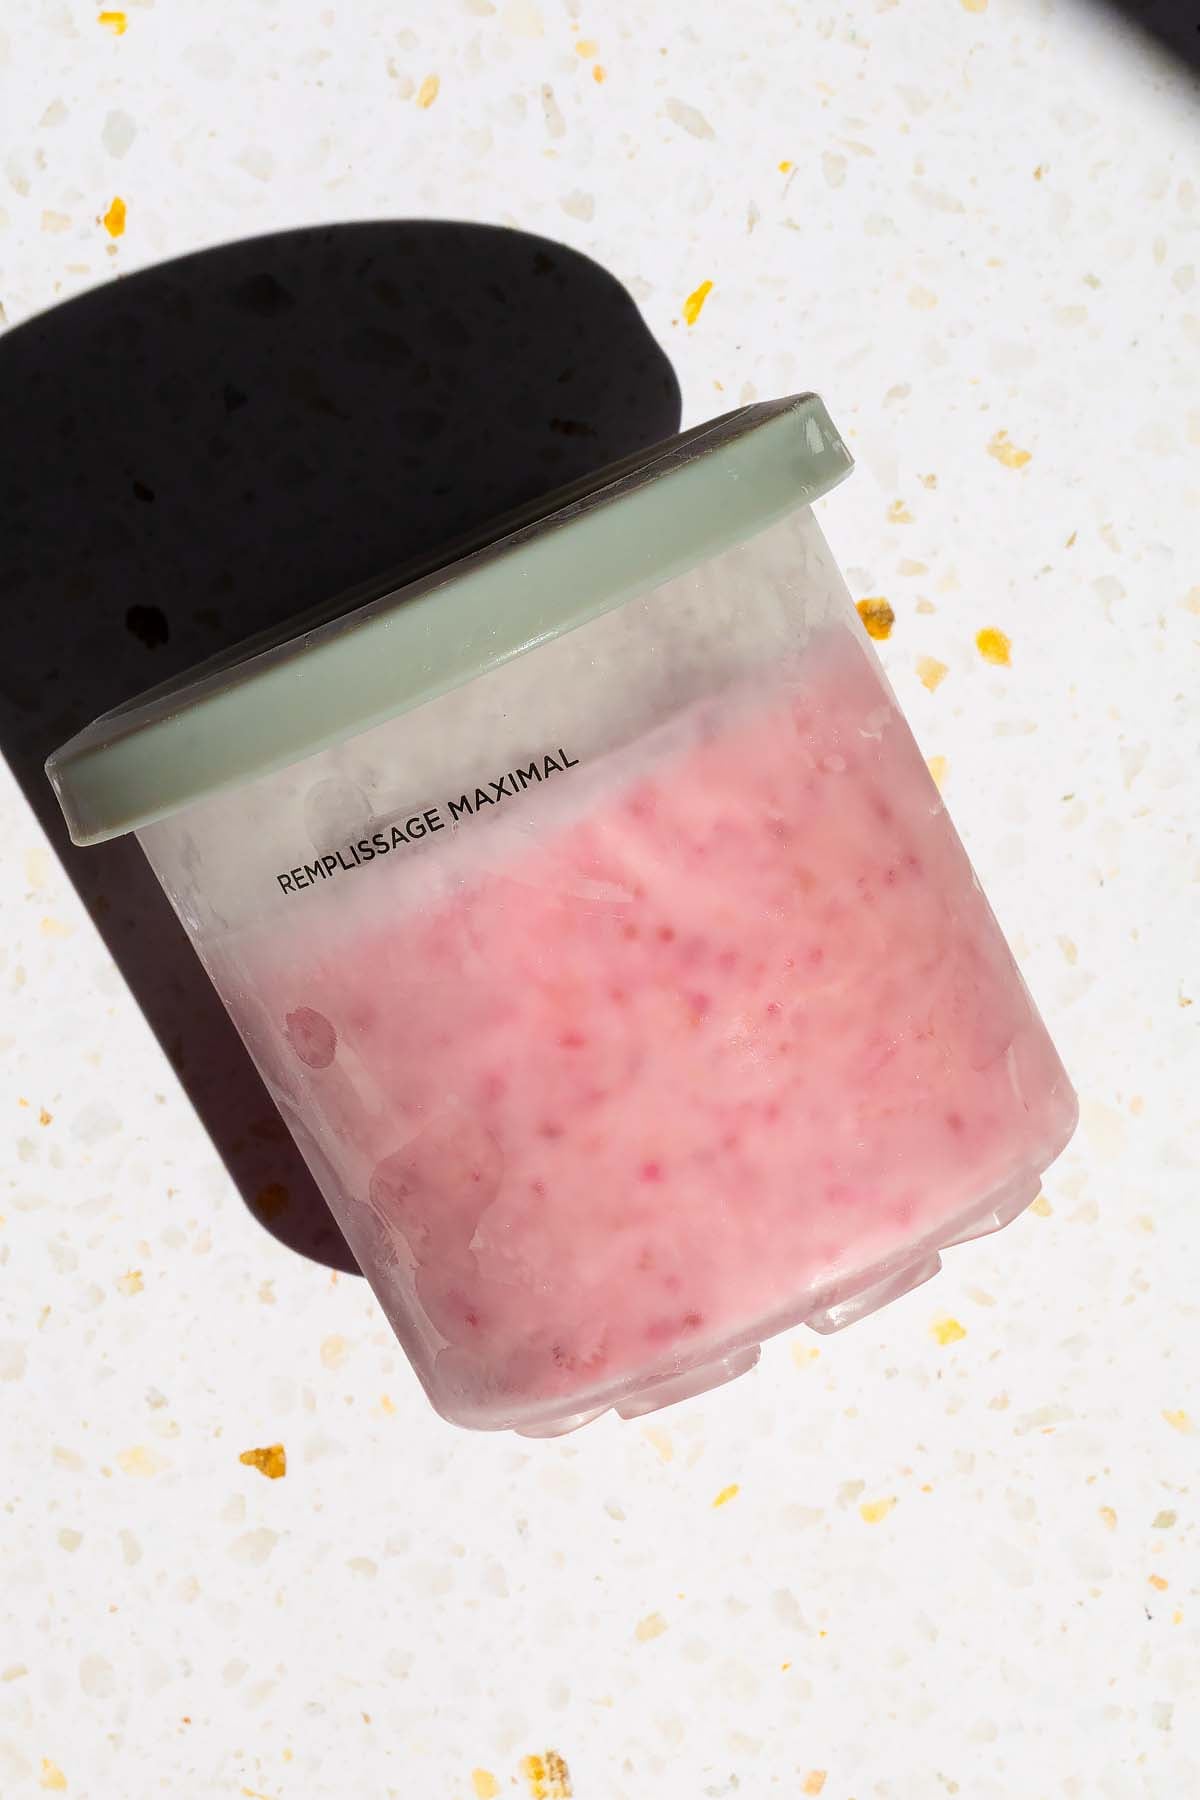
Freeze on a level surface for at least 18 hours.
Remove from the freezer. Run a little warm water along the outer edge for 30 seconds if desired.
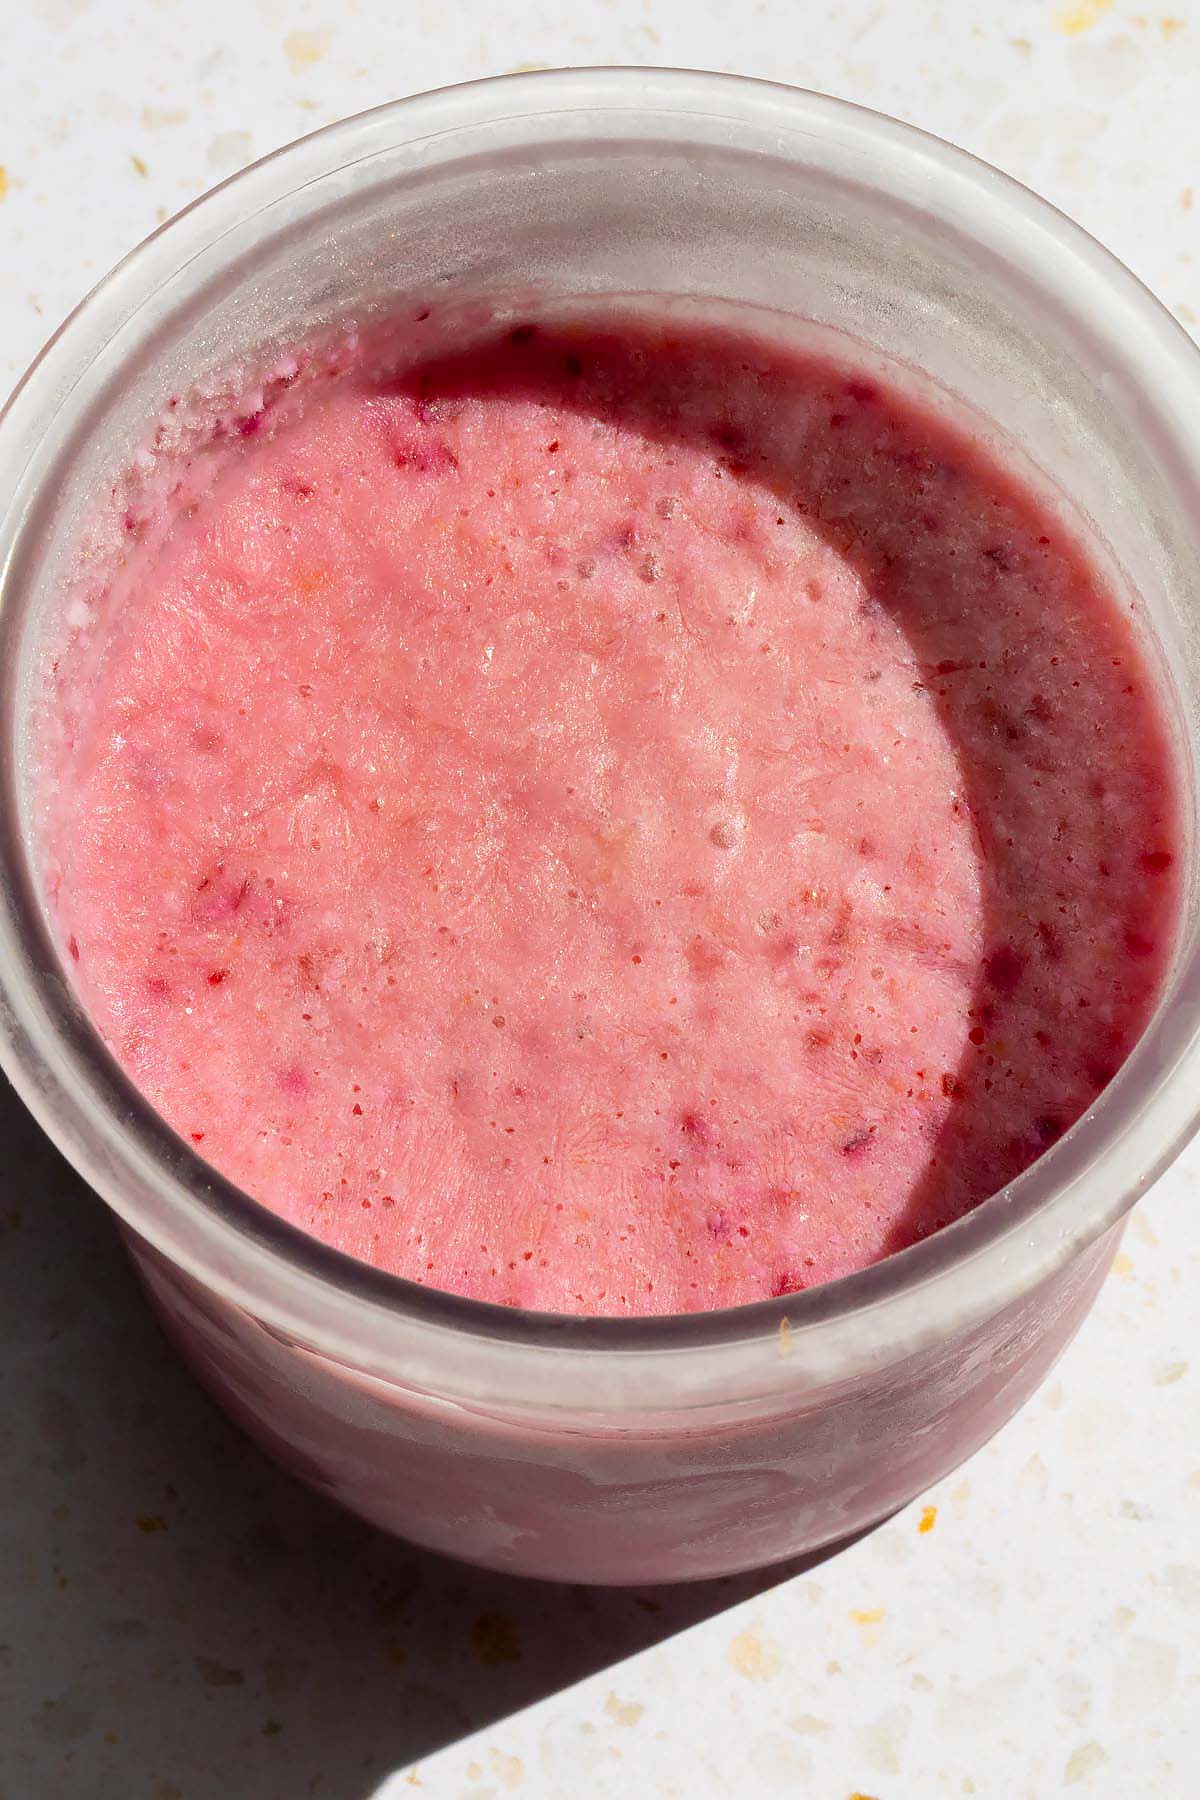
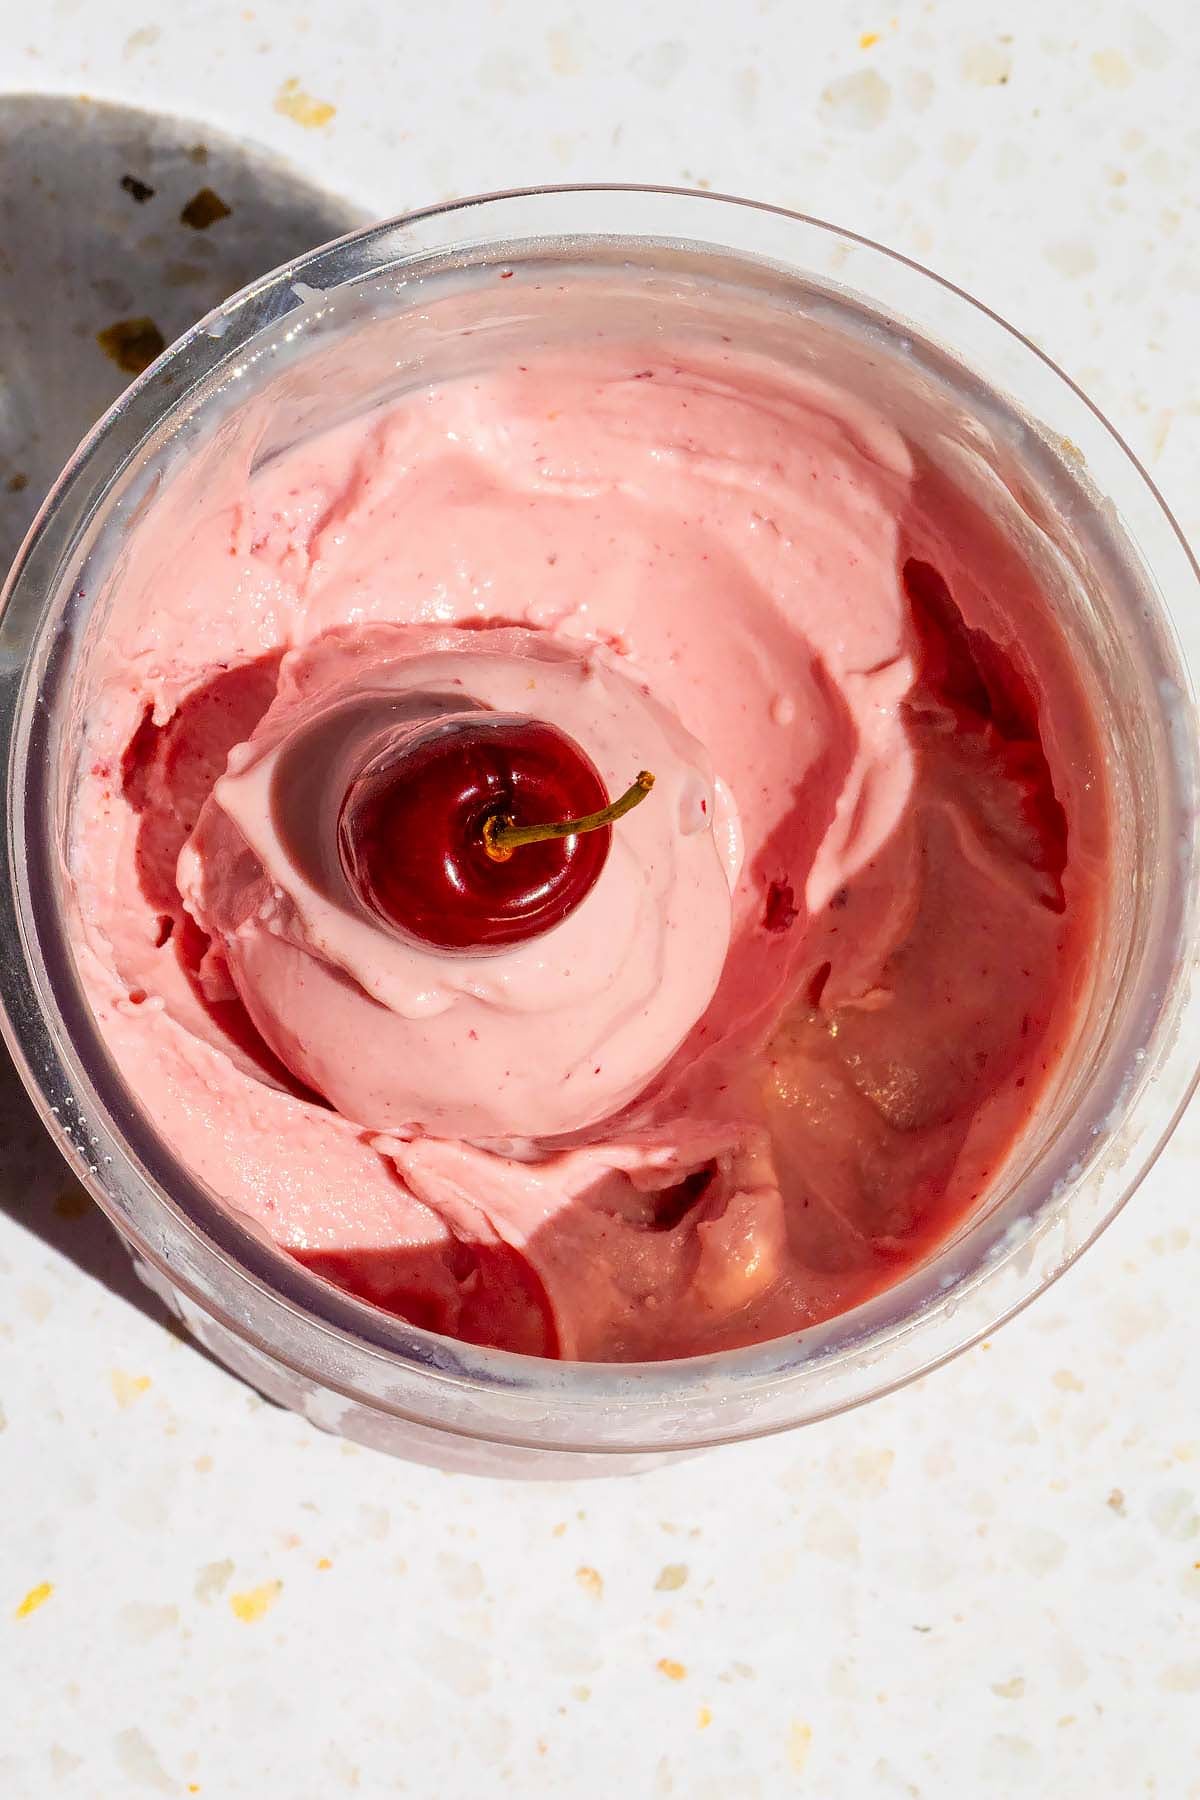
Process on the light ice cream setting. Respin if needed. Create a hole in the center of the ice cream and add 6 more pitted cherries. (If using frozen cherries, let thaw before adding).
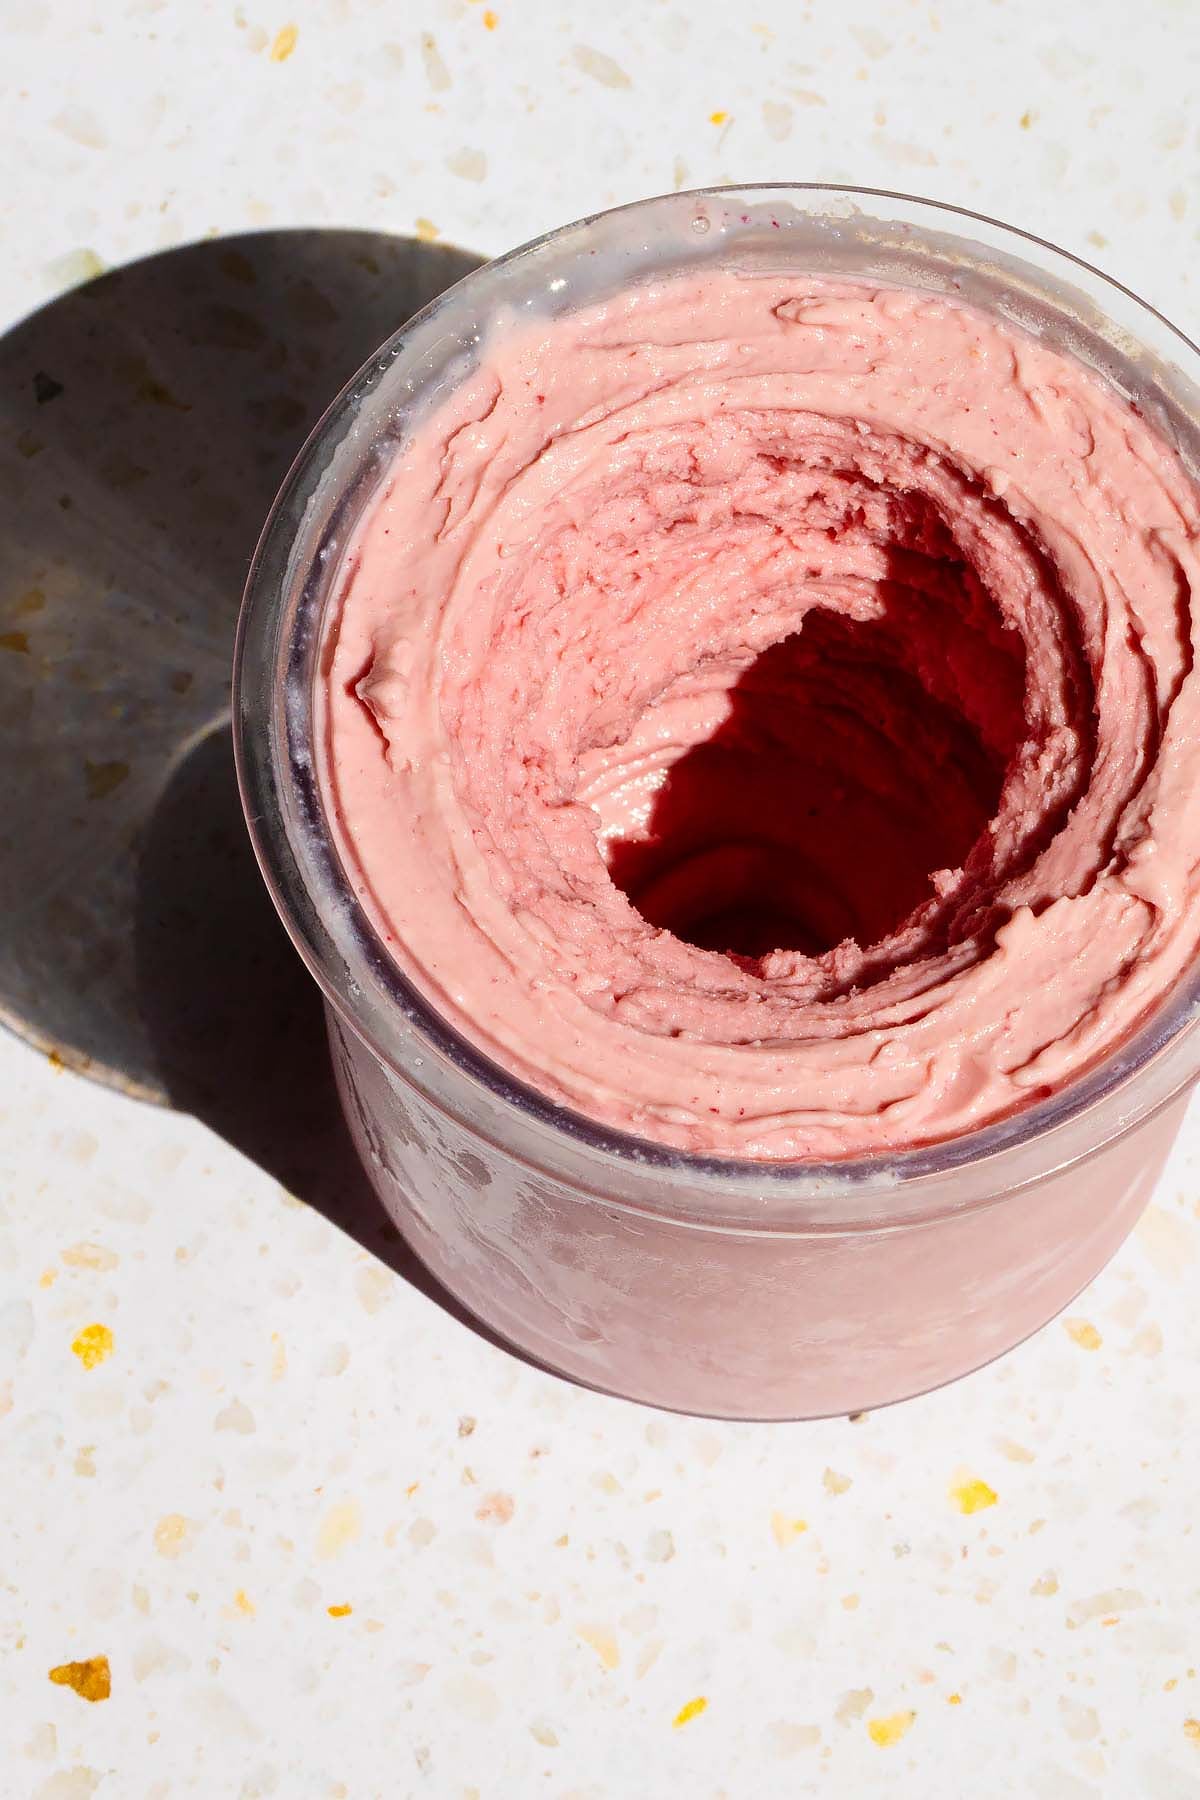
Use the mix-in feature to incorporate the cherries.
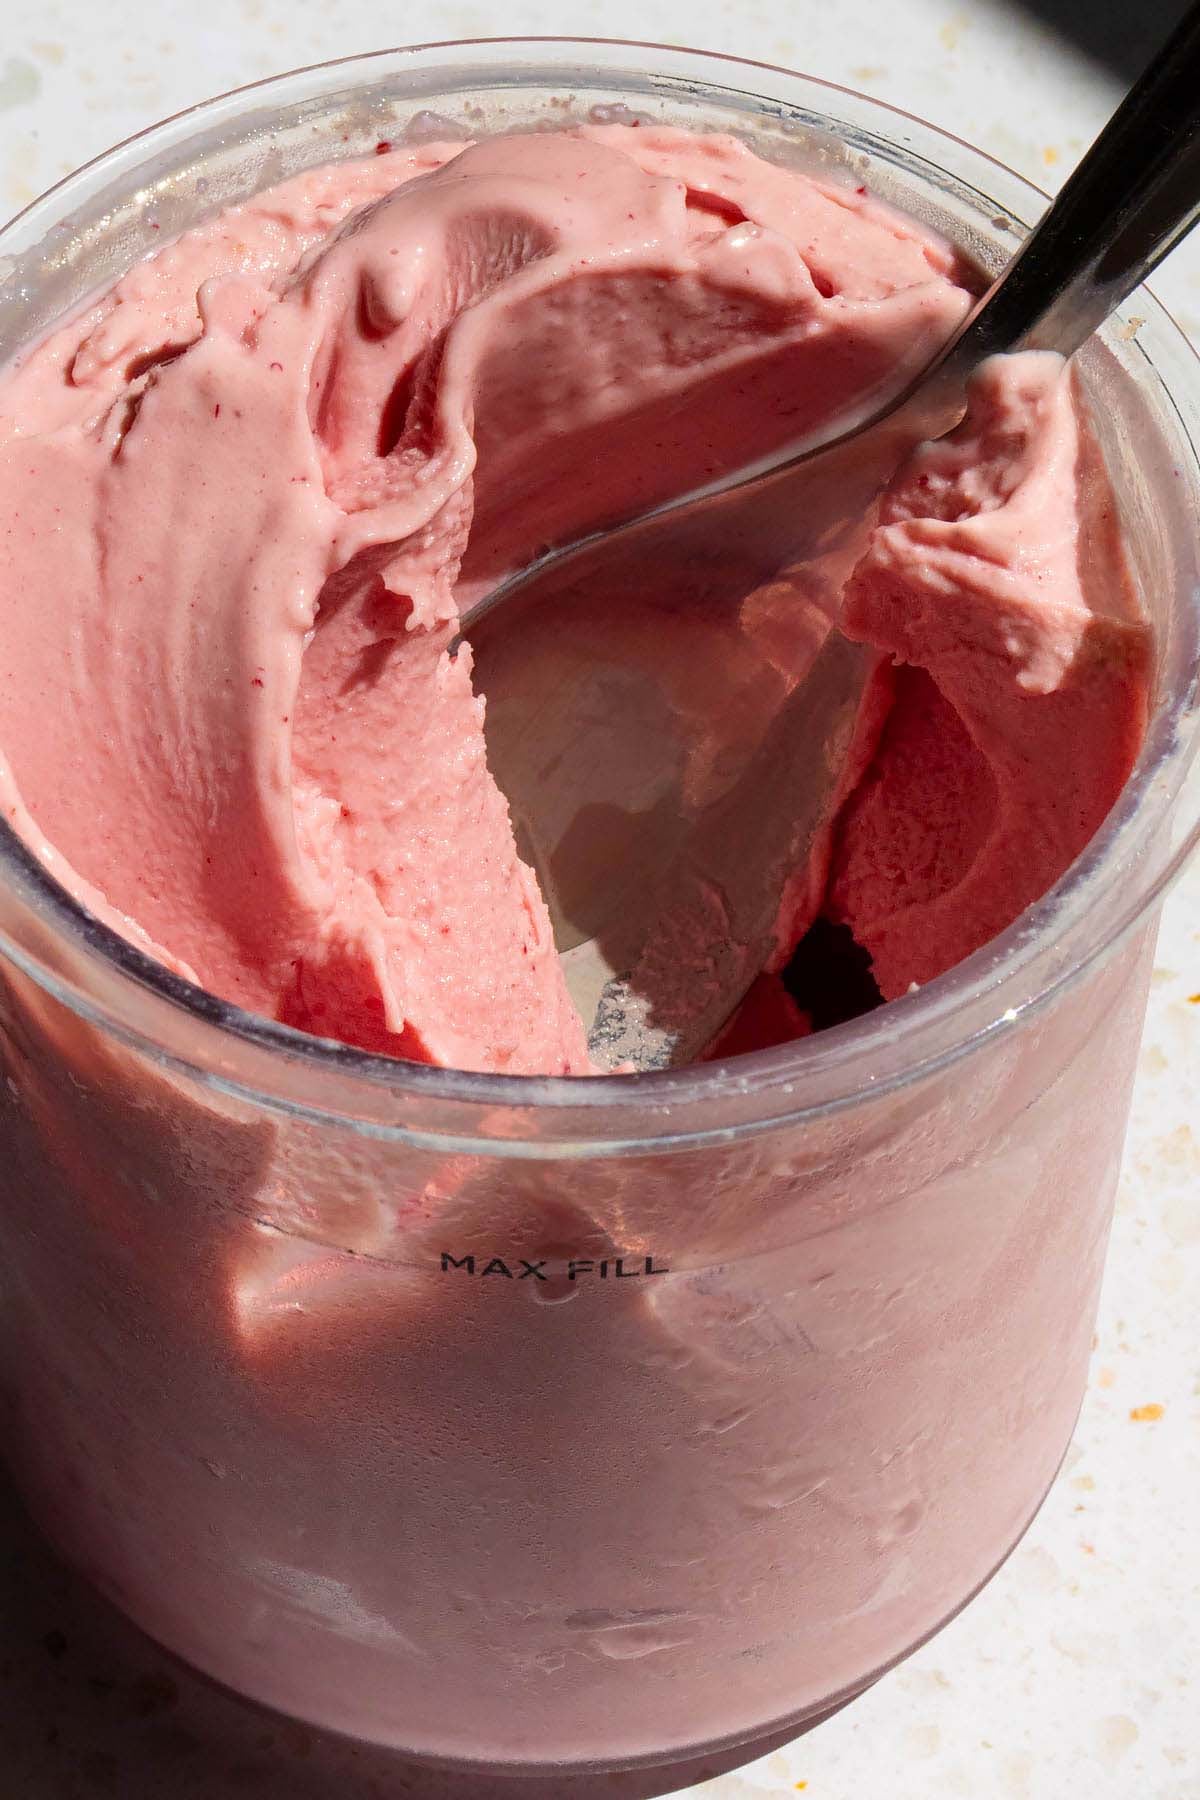
Enjoy!
Recipe tips
- You can use frozen cherries instead of fresh cherries if you prefer. When using them as an Mix-in, thaw before adding to the ice cream so they get mixed in properly.
- If you don't like or don't have almond extract, you can use ½ teaspoon of vanilla extract instead.
- As noted in the post, you can swap the cottage cheese for an equal amount of ricotta if you prefer.
- I like to run a little warm water along the outer edge for 30 seconds after I remove the ice cream from the freezer.
- If the ice cream softens too much from processing, simply return back to the freezer for 15 minutes or so to harden.
- If you have leftovers, smooth out the top and return to the freezer.
More Ninja Creami recipes
- Ninja Creami cherry limeade sorbet
- Ninja Creami strawberry ricotta ice cream
- Ninja Creami Rice Krispie treat ice cream
- Ninja Creami coconut ice cream
Ninja Creami Cherry Ice Cream
Equipment
Ingredients
- 1 cup cherries stems removed and pitted
- 1 cup cottage cheese (see notes)
- ½ cup milk
- ⅓ cup sugar
- ⅛ teaspoon almond extract see notes
For mix-in
- 6 cherries stems removed and pitted
Instructions
- Remove the stems from cherries and pit if needed.
- Add the cottage cheese, cherries, milk, sugar, and almond extract to a blender. Blend until smooth.
- Pour into Ninja Creami container and freeze on a level surface for at least 18 hours.
- Remove from the freezer. Process on the Light Ice Cream setting. If needed, add a splash of milk and respin.
- Create a hole in the middle of the ice cream and add 6 more cherries. Use the Mix-In feature to incorporate.
- Scoop out and enjoy.
Notes
- For the cottage cheese, you may want to use a low-acid brand. If your cottage cheese has more of a sour taste, your ice cream will too.
- As noted in the post, you can swap the cottage cheese for an equal amount of ricotta if you prefer.
- You can use frozen cherries instead of fresh cherries if you prefer. When using them as an Mix-in, thaw before adding to the ice cream so they get mixed in properly.
- If you don't like or don't have almond extract, you can use ½ teaspoon of vanilla extract instead.
- I like to run a little warm water along the outer edge for 30 seconds after I remove the ice cream from the freezer.
- If the ice cream softens too much from processing, simply return back to the freezer for 15 minutes or so to harden.
- If you have leftovers, smooth out the top and return to the freezer.
Nutrition
If nutrition info is shown, values are based on an online calculator and are estimates. Please verify using your own data.
Leave a Reply